Create View
Spacemap Go Help
The Create View displays the Spacemap and Trajectory libraries. Tap the SPACEMAPS and TRAJECTORIES buttons at the top of the view to switch between the libraries.
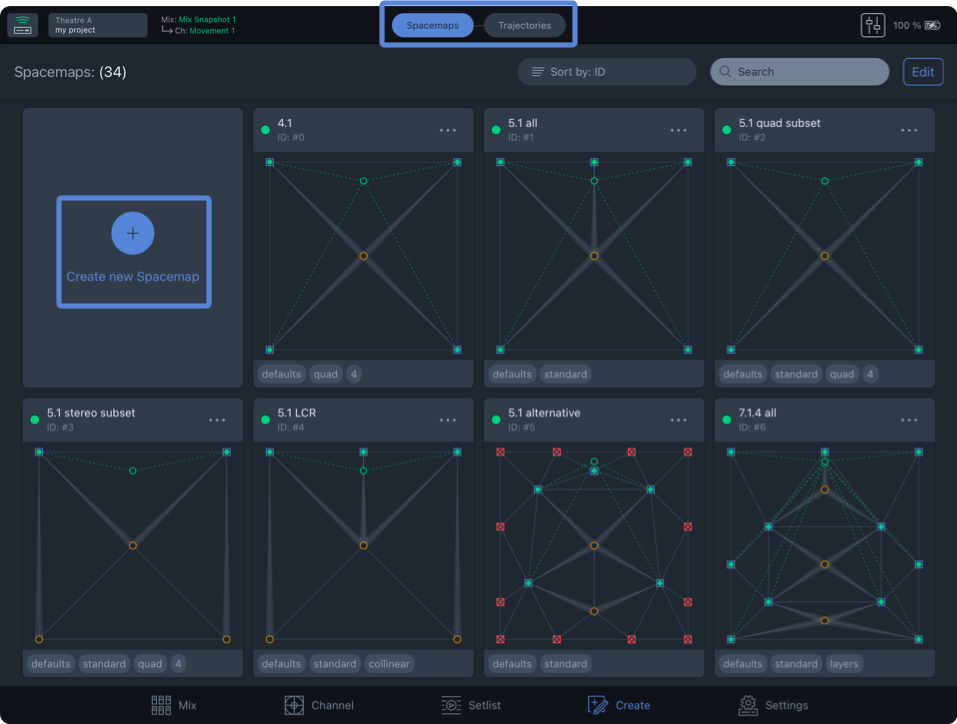
Create View – Spacemap Library
Create a New Spacemap
To create a Spacemap, select SPACEMAP at the top of the view and tap CREATE NEW SPACEMAP (above) to open the Spacemap editor.
Tap the ADD button on the right (below). Select one of the four node types on the left, then tap inside the Spacemap to add nodes. Use two-finger pinch and open gestures to zoom the Spacemap.
Tap More (three-dot icon) next to the Spacemap name to edit the name, save a Spacemap file, and add tags.
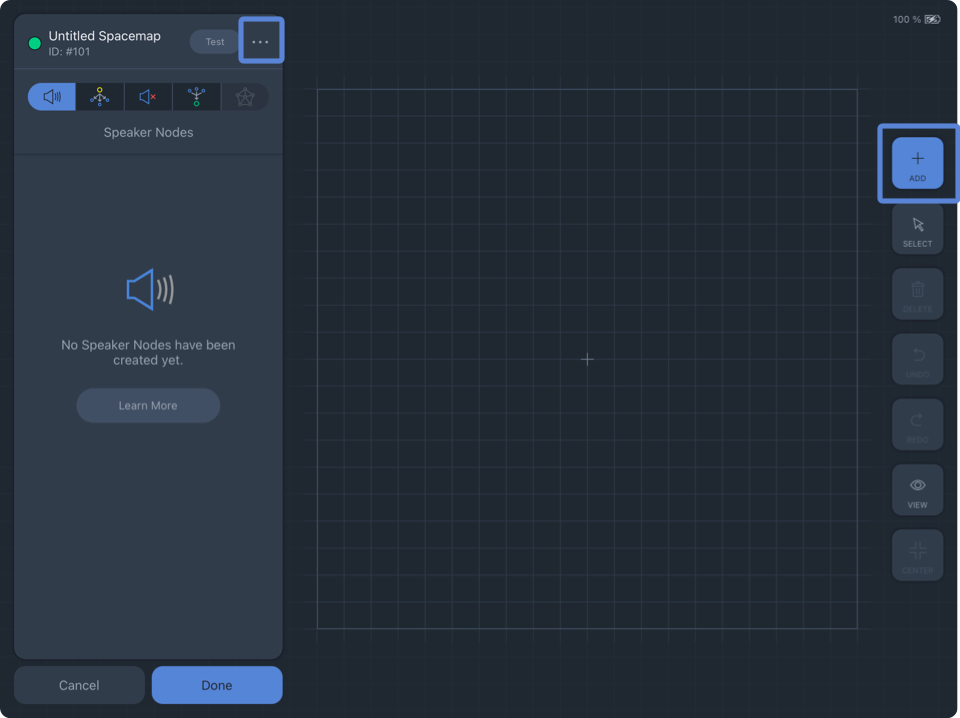
Create View – Add Spacemap
Node Types
For more information about nodes and their uses in a Spacemap, please see the Spacemaps page.
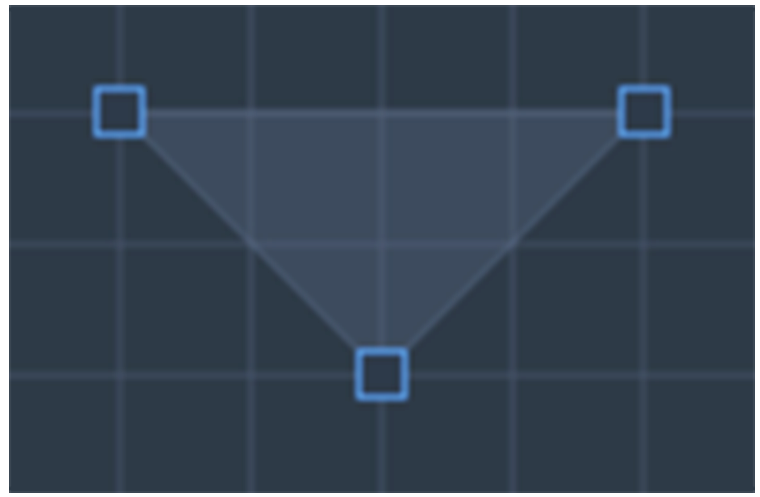
 Speaker Nodes
Speaker Nodes represent the physical outputs of a Spacemap System as blue squares. Positions of Speaker Nodes in a Spacemap can represent the loudspeaker layout logically, randomly, or abstractly. Abstract layouts are usually used to facilitate specific panning scenarios that would be difficult or impossible to create with a logical speaker node layout.
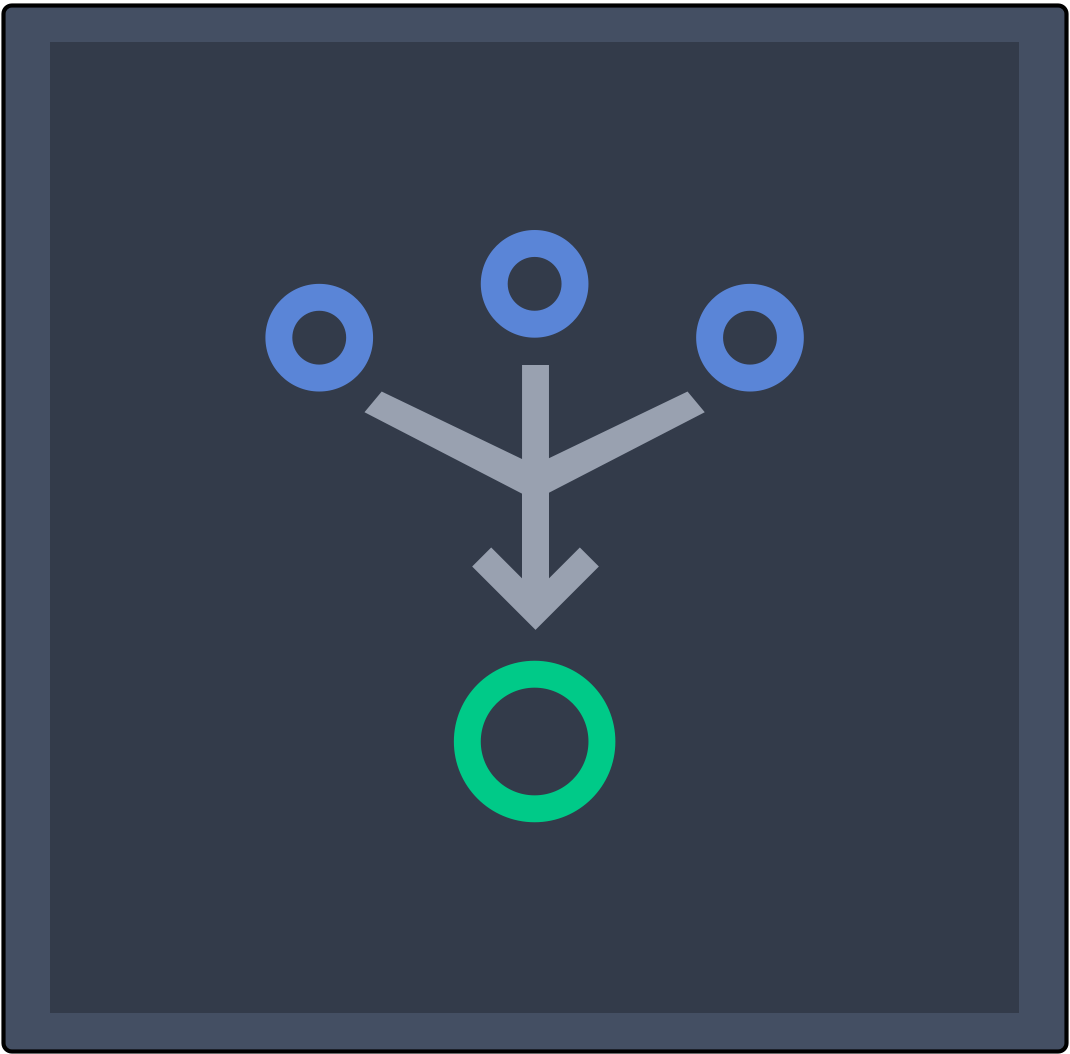
 Virtual Nodes
Virtual Nodes simulate a physical output for panning purposes and can be used in conjunction with Silent Nodes. Virtual Nodes are linked to Speaker Nodes and/or Silent Nodes. The links are indicated graphically by a translucent line, wider at the Virtual Node, narrower at the linked Speaker Node. When the Spacemap Panner is moved to a Virtual Node, the input signal is equally distributed to the linked Speaker Nodes by default. Each linked Speaker Node has a Link Weight that is adjustable (0–100%).
 Silent Nodes
Silent Nodes are included in Trisets, just like Speaker Nodes, but they are not associated with an output.
When the Spacemap Panner is moved closer to a Silent Node, all output levels of the channel are reduced. When the Spacemap Panner is on a Silent Node, all output levels of the channel are -∞ (-infinity) dB. Moving the Panner closer or further away from a Silent Node is an easy way to fade-in or fade-out a channel using the Spacemap Panner instead of the channel level control.
In a Spacemap, when the Spacemap Panner is moved to a location that does not include a Triset, all of the output levels of the channel drop to -∞ dB. As the Panner is moved on and off of Trisets it will sound like the mute for the channel is being toggled. If this is not the desired effect, Silent Nodes can be added at the extents of a Spacemap with Trisets that include them. When Trisets fill the entirety of a Spacemap and the Spacemap Panner approaches the edge of the Spacemap, the output levels will not suddenly drop to -∞ dB. Instead, the output levels are gradually reduced as the Panner is moved closer to a Silent Node.
 Derived Nodes
Derived Nodes link to one or more Speaker Nodes and receive the sum of the signals from the linked Speaker nodes. They are represented as hexagons in a Spacemap. Dashed lines indicate the Speaker Nodes to which they are linked. Derived Nodes are used as a method to send input signal to additional outputs, relative to the linked Speaker Nodes. They are commonly used for subwoofer sends, fill mixes, sends to balconies, and other cases where a secondary mix-down of a multichannel mix is required.
 Trisets
At least one Triset is required in each Spacemap. Trisets are triangular panning surfaces created between three nodes that define the panning area between them. In conjunction with the relative location of the Spacemap Panner, Trisets are used by the app to determine the output levels for each node. The size of the Triset is not critical because the power-preserving panning law is proportional rather than absolute. The output levels are calculated based on the relative distance between the Spacemap Panner and each of the nodes that make up a Triset, rather than the actual physical distance within the grid of the Spacemap.
If an area of a Spacemap does not have a Triset and the Spacemap Panner is moved there, the output levels will drop to -∞ dB (the input signal will not be sent to any output). Trisets can be generated automatically or added manually when creating or editing Spacemaps in Create View.
Toolbar
Tap the tools to the right of the canvas to add, select, or delete nodes in the Spacemap.

Toolbar
ADD: Tap in the Spacemap to add the selected node type.
SELECT: Tap a Node or Triset to edit or move it.
DELETE: Tap to delete the selected Nodes or Trisets.
UNDO: Tap to undo the last change.
REDO: Tap to redo the last undo.
VIEW: Opens Spacemap view option popover for Spacemap (see below).
CENTER: Zoom to extents.
View Options
The View popover has several options that facilitate Spacemap creation:
- SHOW SPACEMAP: A Spacemap can be selected as reference for node locations.
- SHOW GRID: Toggles display of grid lines.
- SNAP TO GRID: When enabled, nodes are only added at grid intersections.
- BLOCK GRID SIZE: The grid size is adjusted in four increments.
- SHOW CIRCULAR GUIDE: Overlays a circle with a number of snap points equally spaced. Use sliders to adjust size and number of points (Spacemap only).
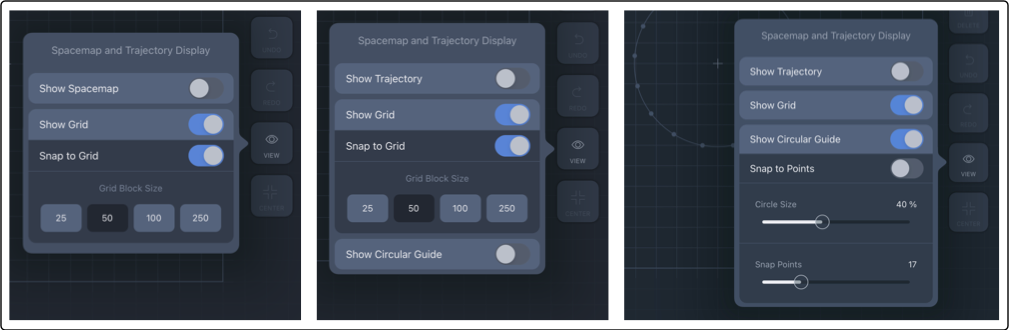
Create View, View Options – New Trajectory (left), New Spacemap (middle), New Spacemap with Show Circular Guide On (right)
Test Spacemap
Tap the TEST button next to the Spacemap name in the upper-left corner to open the Spacemap Test View.
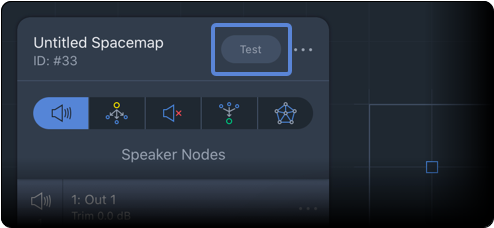
Create View – Spacemap Test Button
Move the Spacemap Panner, observe the output levels and confirm desired behavior.
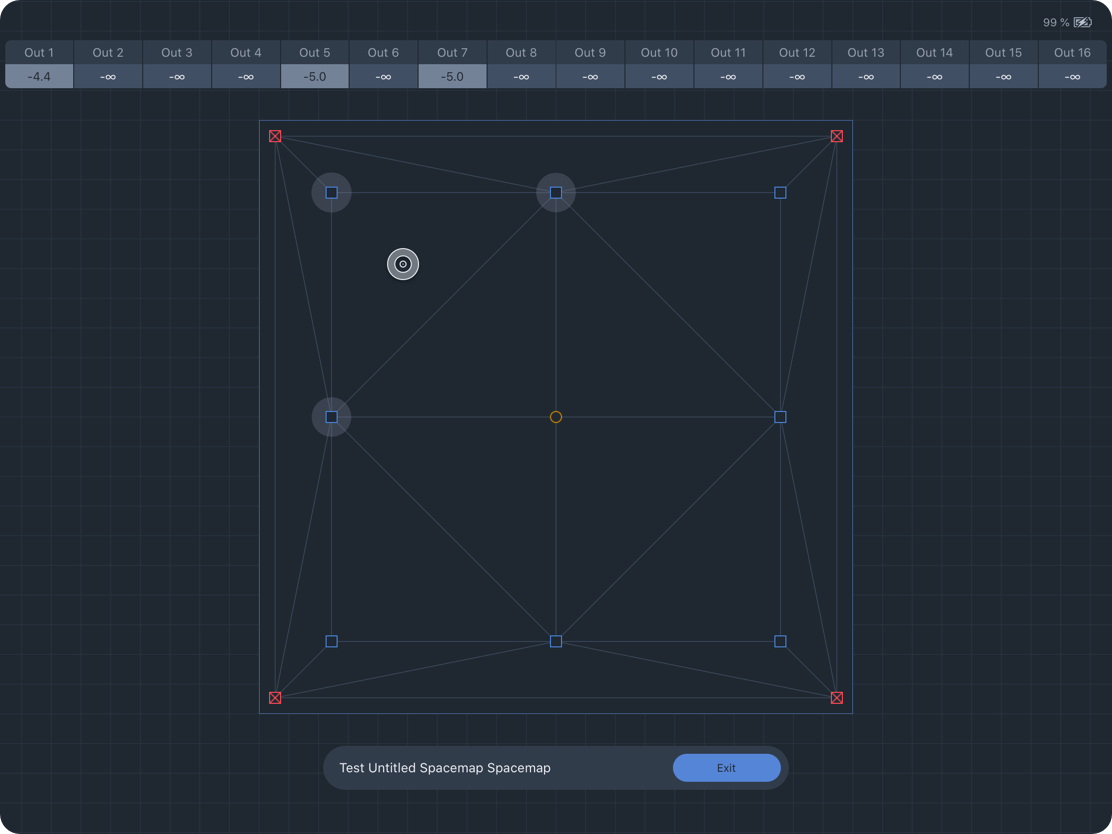
Create View – Spacemap Test Mode
Create a New Trajectory
To create a Trajectory, tap TRAJECTORY at the top of the Create View. Tap ![]() CREATE NEW TRAJECTORY to open the Trajectory editing controls. Tap START RECORDING and draw inside the Spacemap to create a path. Tap FINISH RECORDING to end. Use two-finger pinch and open gestures to zoom the Spacemap.
CREATE NEW TRAJECTORY to open the Trajectory editing controls. Tap START RECORDING and draw inside the Spacemap to create a path. Tap FINISH RECORDING to end. Use two-finger pinch and open gestures to zoom the Spacemap.
A trajectory is a series of points that can be edited. Tap TIME and POINTS to edit values. Two times are listed for each point. The first is the wait time, the second is the time between consecutive points. The total time can be edited—modifying the individual wait and next-point times proportionally.
Tap the three-dot icon next to the name in the upper-left to edit the name, save as a Trajectory file, and add tags.
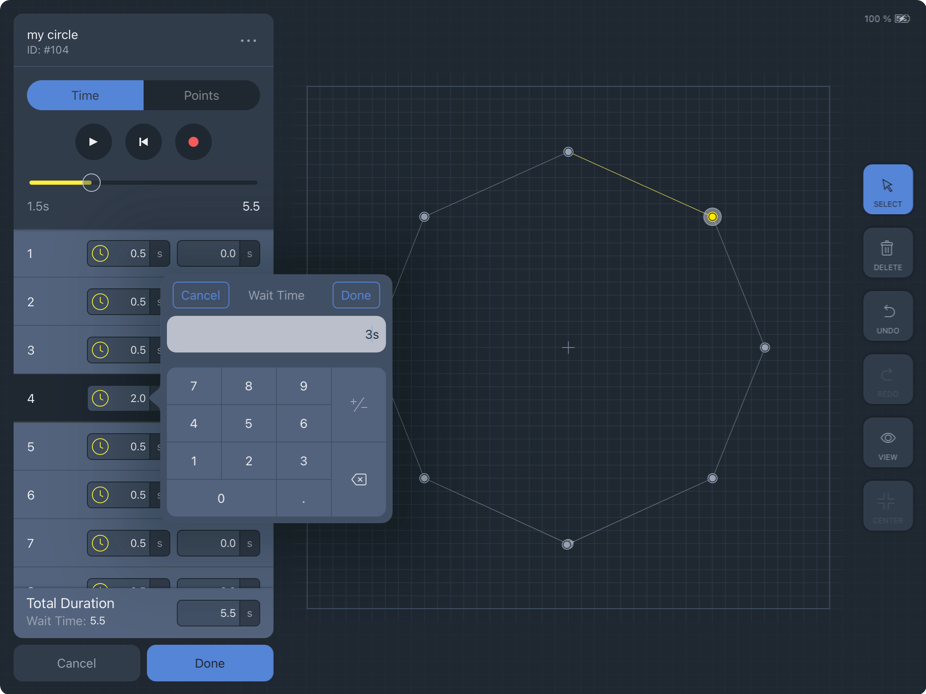
Create View, Trajectory Editor – Edit Wait Time for Point 4
Tap-hold and move a Trajectory Point to modify the trajectory shape. The POINTS option lists the X,Y coordinates (-1000 to 1000) for each point. Tap to edit values. Tap DONE to add the Trajectory to the library.
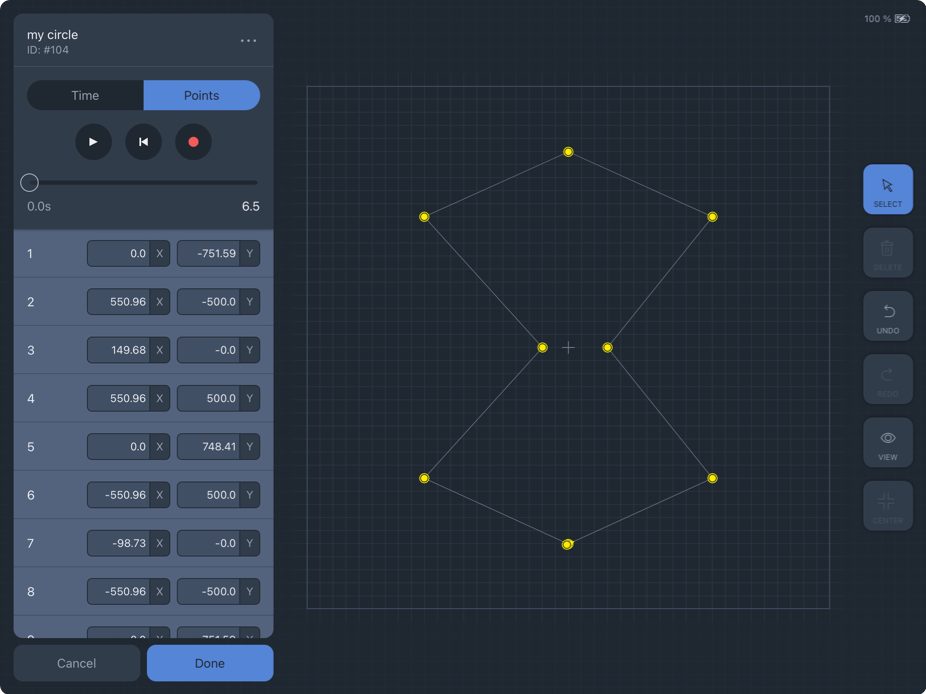
Create View – Edit Trajectory Points
What’s Next?
Please see Settings View next.