Control Using QLab
Spacemap Go Help
This page details how to connect QLab to Spacemap Go and provides examples of the various control points that QLab can control.
Example QLab File
This QLab example file has example Network cues for the Spacemap Go OSC commands listed below. QLab’s 2D and 1D fade feature within a Network cue enables smooth transitions between control point values. Download Example QLab Project
Hardware and Software Requirements
- Galileo GALAXY processor booted into Spacemap Mode – requires firmware version included with Compass software version 4.9, or later which matches the version of the Spacemap Go app in use. This can be real hardware (required to pass audio) or a Virtual GALAXY running in Compass.
- Computer running the latest OS and QLab versions.
- Network Switch – AVB capable, Avnu-certified.
Spacemap Go receives OSC commands via port 38033 and QLab receives OSC commands via port 53000.
Connection Steps – Hardware (not Virtual GALAXY)
- The Apple computer and the GALAXY processor must be on the same network.
- The Apple computer running QLab must be within the same IPv4 range and subnet as the Spacemap Go System IPv4 address, GALAXY processor(s), and iPad.
Step 1: In the Spacemap Go app on the iPad, tap SETTINGS VIEW (bottom), then SYSTEM SETTINGS > EXTERNAL DEVICE CONTROL.
Step 2: SYSTEM IP CONFIGURATION > IPv4 ADDRESS: Enter a system IPv4 address, in the same subnet of the computer running QLab.
NOTE: Spacemap Go uses this IPv4 address as the master IPv4 address of the system. Following that address, a contiguous range of IPv4 addresses for each Spacemap Go GALAXY processor is automatically assigned. These addresses are independent of the IPv4 addresses listed in Compass software on the PROCESSORS > SETTINGS > NETWORK tab.
NOTE: Ensure the range of IPv4 addresses is available on the network. Do not use or allow the Spacemap system to create duplicate IPv4 addresses on the network.
Step 3: SYSTEM IP CONFIGURATION > SUBNET MASK: Enter a system subnet mask, usually, 255.255.255.0.
Step 4: GENERAL PURPOSE OSC > IPv4 ADDRESS: leave set to the default, (any).
NOTE: When an IPv4 address is entered, QLab will only listen for commands from the device with that IPv4 address.
Step 5: GENERAL PURPOSE OSC > PORT: Leave the port set to default, (0). In the instance that an event in SMG needs to trigger a QLab event, set the port number to 53000 – the default Rx (receiving) port used by QLab.
Step 6: GENERAL PURPOSE OSC: toggle the ENABLE slider to ON
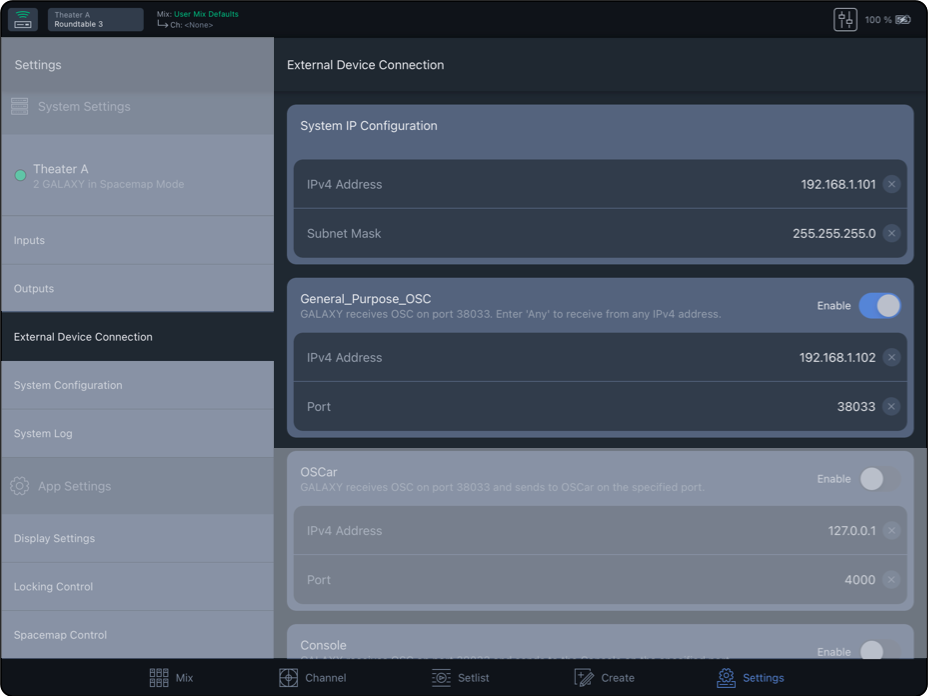
Settings, External Device Connection – System and General Purpose OSC IP Settings
Step 7: Set the IPv4 address of the computer running QLab to be in the same IPv4 address range as the Spacemap Go system.
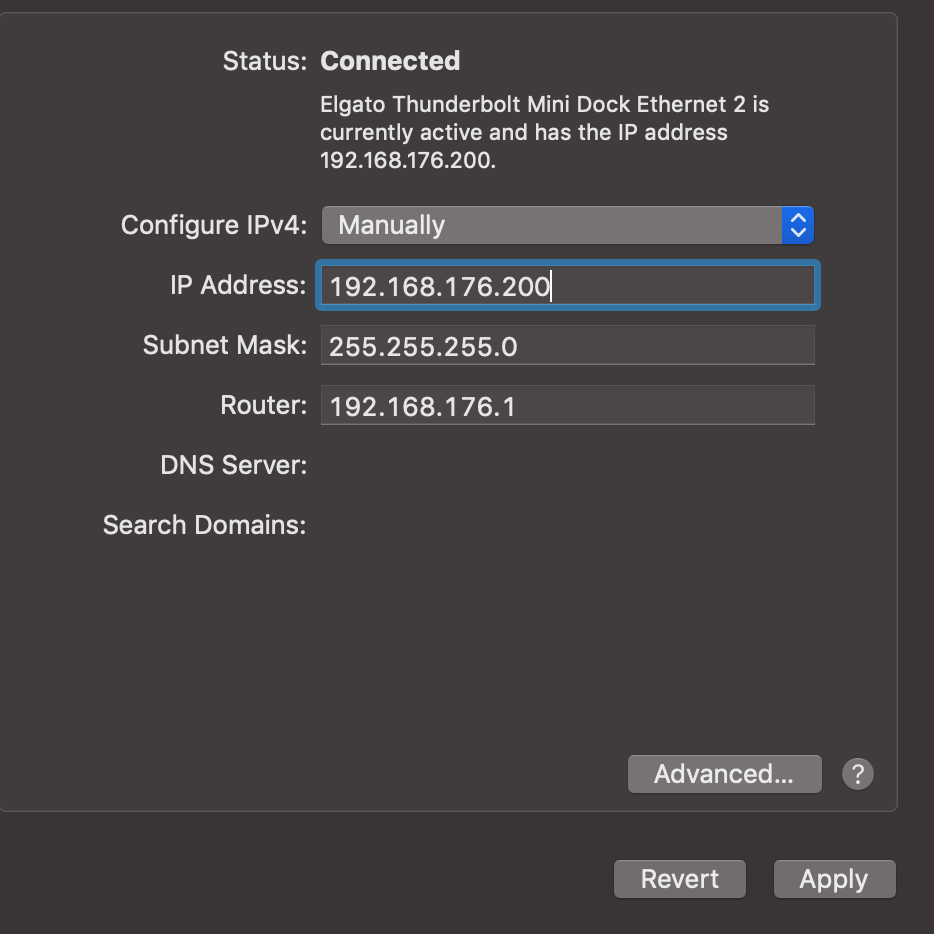
Setting IPv4 address of Apple computer
NOTE: If an IPv4 address was entered in the GENERAL PURPOSE OSC field, use that IPv4 address to set the QLab Alias IPv4 address (Spacemap Go targets this address).
Step 8: Set the network settings in QLab: under NETWORK > NETWORK CUE DESTINATION PATCHES, select the Spacemap Go interface, type in the Spacemap Go system IP and the port 38033.
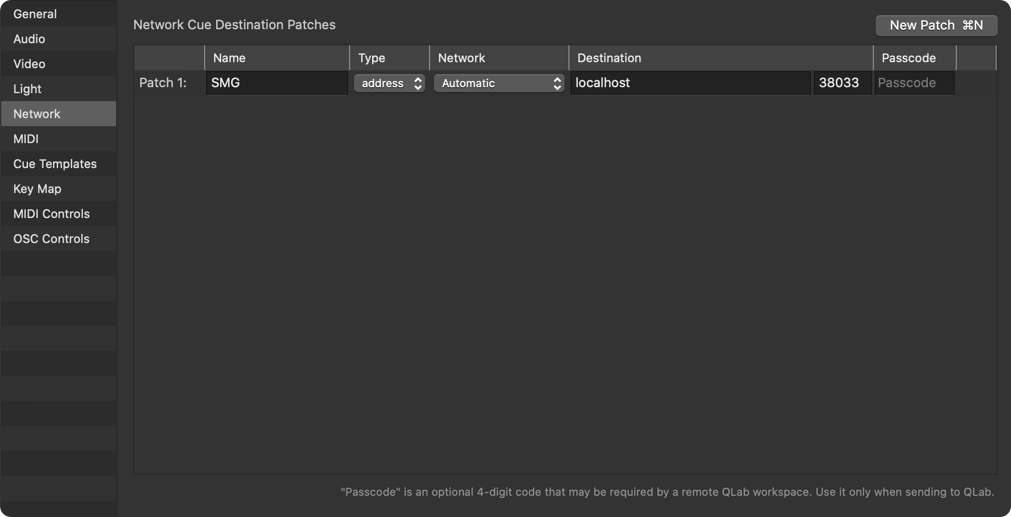
QLab Settings with GALAXY Hardware
Connection Steps – Virtual GALAXY Processor(s)
Virtual GALAXY Processors Running on the Same Computer as QLab
STEP 1: GENERAL PURPOSE OSC: toggle the ENABLE slider to ON. Use the default values for all other settings.
STEP 2: In QLab: NETWORK > NETWORK CUE DESTINATION PATCHES, select the Spacemap Go interface. Enter localhost or 127.0.0.1 in the Destination Address field. Enter 38033 in the Port field.

QLab Network Settings
Virtual GALAXY Processors NOT Running on the Same Computer as QLab
The Spacemap Go SYSTEM IP ADDRESS is not necessary in this instance. The Virtual GALAXY will respond to the Compass computer IPv4 address.
STEP 1: GENERAL PURPOSE OSC > IPv4 ADDRESS: Enter the IPv4 address of the Compass computer.
Step 2: GENERAL PURPOSE OSC > PORT: Leave the port set to default, (0). In the instance that an event in SMG needs to trigger a QLab event, set the port number to 53000 – the default Rx (receiving) port used by QLab.
STEP 3: GENERAL PURPOSE OSC: toggle the ENABLE slider to ON.
Step 4: In QLab: NETWORK > NETWORK CUE DESTINATION PATCHES, select the Spacemap Go interface, enter the IPv4 address of the Compass computer running the Virtual Galaxy. Enter 38033 in the port field.
QLab Settings with GALAXY Hardware
General Purpose OSC Commands
Below are the General Purpose OSC commands that a Spacemap Go system will respond to.
General Purpose OSC Commands
| Command | String | Value | Example(s) |
|---|---|---|---|
| Spacemap Go Channel | /channel | ||
| X and Y Value of the Panner Position within a Spacemap | /channel/1-32/position (1st Argument is X, 2nd Argument is Y) |
-1000 to 1000 | /channel/1/position 125 300 (X Position is 125, Y Position is 300) |
| Control Channel Level | /channel/1-32/level | -90 to +10
-90 = -90 dB |
/channel/1/level 0 (Set Channel 1 Level to 0 dB) /channel/1/level -6 |
| Control Channel Mute | /channel/1-32/mute | 0 = OFF 1 = ON |
/channel/1/mute 0 (Unmute Channel 1) /channel/1/mute 1 |
| Crossfade Value Between Two Spacemaps on a Channel | /channel/1-32/crossfade | -100 to 100
-100=Left Map 100% |
/channel/1/crossfade -100 /channel/1/crossfade 0 /channel/1/crossfade 100 |
| Control Channel Spread | /channel/1-32/spread | 0 to 100
0 = 0% |
/channel/1/spread 14 (Sets the Spread to 14%) NOTE: Spread is Logarithmic, 14% is Optimal for Most Cases |
| Play Trajectory | /channel/1-32/trajectory/status | play | /channel/1/trajectory/status play |
| Pause Trajectory | /channel/1-32/trajectory/status | pause | /channel/1/trajectory/status pause |
| Stop and Restart Trajectory from Start Point | /channel/1-32/trajectory/status | stop | /channel/1/trajectory/status stop |
| Control Mix Level | /mix/level | -90 to +10
-90 = -90 dB |
/mix/level 0 (Mix Level = 0 dB) /mix/level -6 |
| Control Mix Mute | /mix/mute | 0 = OFF 1 = ON |
/mix/mute 0 (Unmute the Mix) /mix/mute 1 |
| Control System Trim Level | /system/level | -90 to +10
-90 = -90 dB |
/system/level 0 (System Trim Level = 0 dB) /system/level -6 |
| Recall Channel Snapshot | /recall/channel | Use the External Recall ID Value Found for Each Snapshot to Recall | /recall/channel 3003 (Recalls the Channel Snapshot with the External Recall ID of 3003) |
| Recall Mix Snapshot | /recall/mix | Use the External Recall ID Value Found for Each Snapshot to Recall | /recall/mix 2002 (Recalls the Mix Snapshot with the External Recall ID of 2002) |
| Recall System Snapshot | /recall/system | Use the External Recall ID Value Found for Each Snapshot to Recall | /recall/system 1001 (Recalls the System Snapshot with the External Recall ID of 1001) |
Example QLab Cues
Currently, Spacemap Go communicates with QLab via the control points listed below. QLab allows for 2D and 1D fades of certain Spacemap Go control points. See the examples below.
OSC does not support integer ranges within an address. Ranges must use regular expression values. See the chart below to translate channel ranges into usable OSC ranges within an OSC message.
Translating QLab Regular Expressions into Channel Range Commands
| Channel Range Values | QLab Regular Expression Values | Example Range Cues |
|---|---|---|
| Channels 1-9 | [1-9 |
/channel/[1-9]/position: #x# #y# |
| Channels 10-19 | 1[0-9] | /channel/1[0-9]/position: #x# #y# |
| Channels 20-29 | 2[0-9] | /channel/2[0-9]/position: #x# #y# |
| Channels 10-19 | 1[0-9] | /channel/1[0-9]/position: #x# #y# |
Spacemap Go QLab Examples
Set Channels 1–9 to the Static Position of X=500, Y=200
/channel/[1-9]/position: 500 200
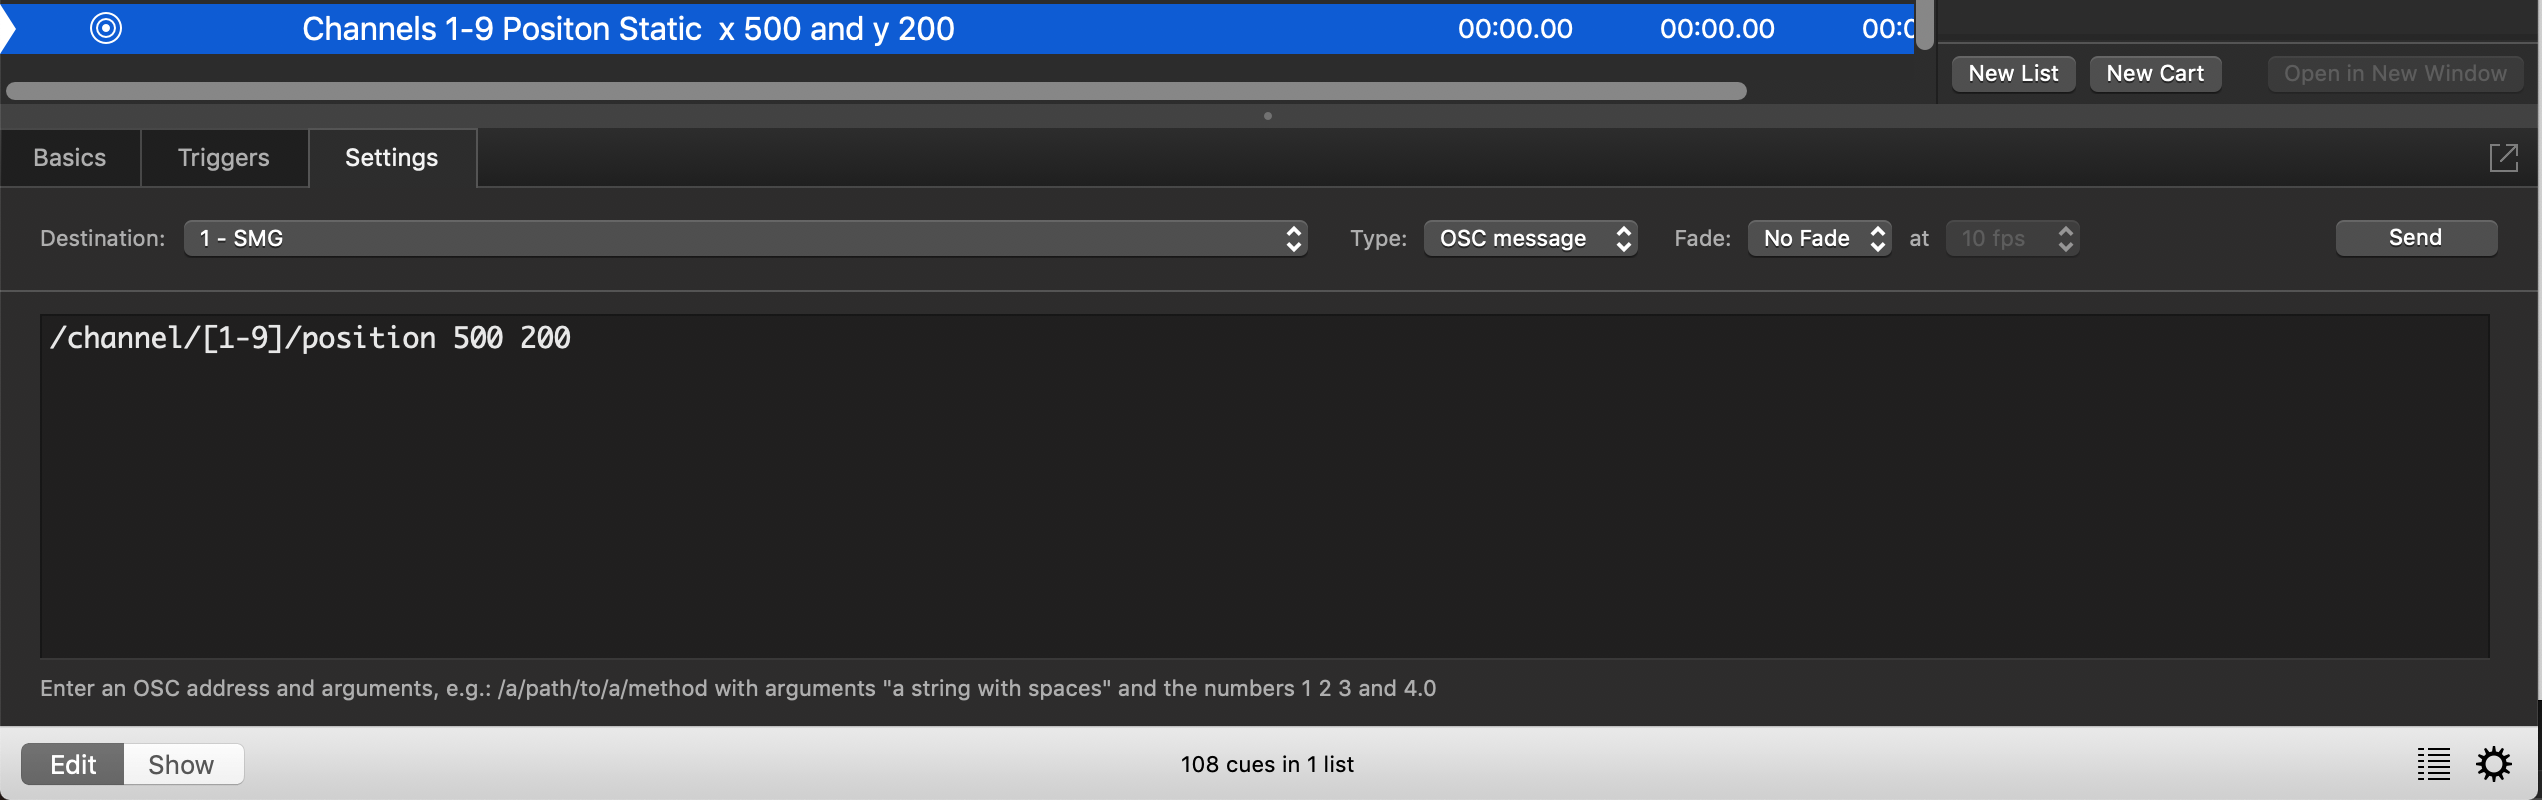
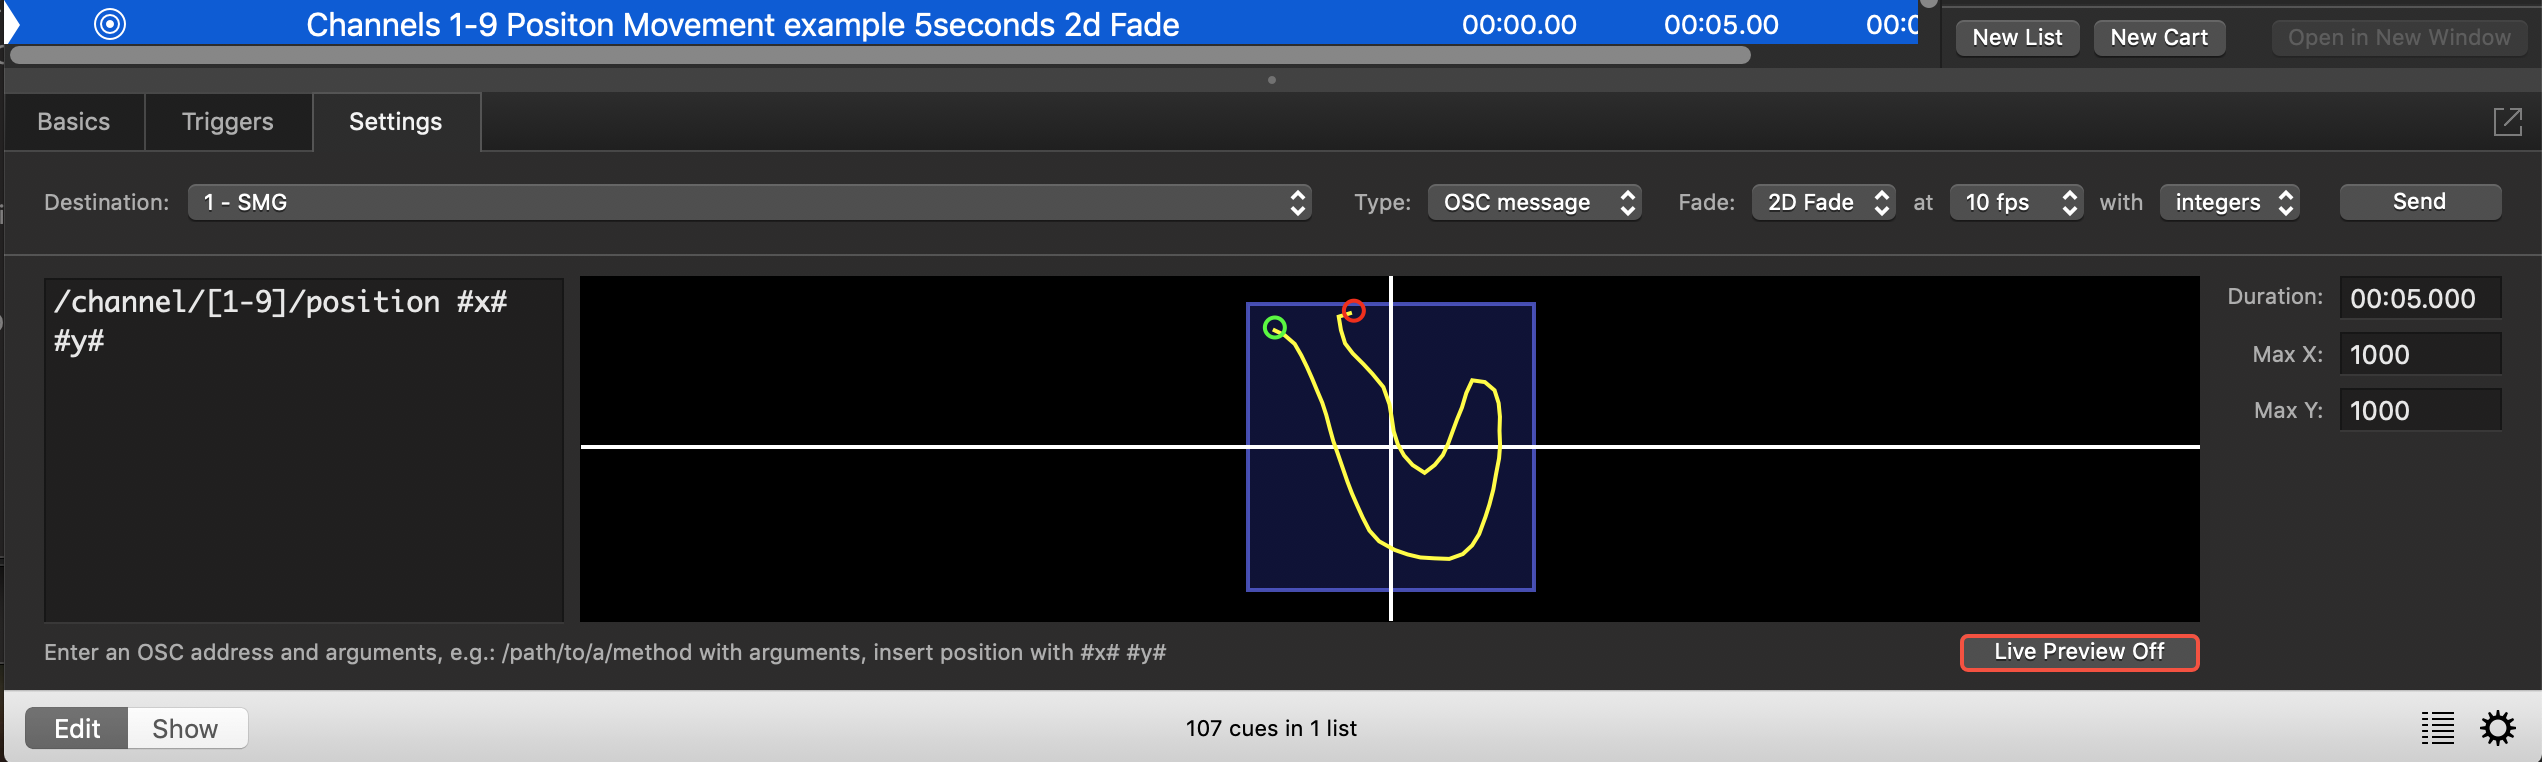
Set Channels 1–9 to 2D Position Fade
NOTE: To create a 2D fade of a position, the following QLab Network Cue Settings must be made (these correspond to the screenshot below):
- Max X = 1000
- Max Y = 1000
- Fade = 2D Fade
- FPS = 10 fps
- Value = Integers
- Duration = desired fade time (here set to 5 seconds)
The regular OSC commands would be:
- /channel/1-32/position:0 = the x value of a channel’s (1-32) position within Spacemap
- /channel/1-32/position:1 = the y value of a channel’s (1-32) position within Spacemap
/channel/[1-9]/position #x# #y#
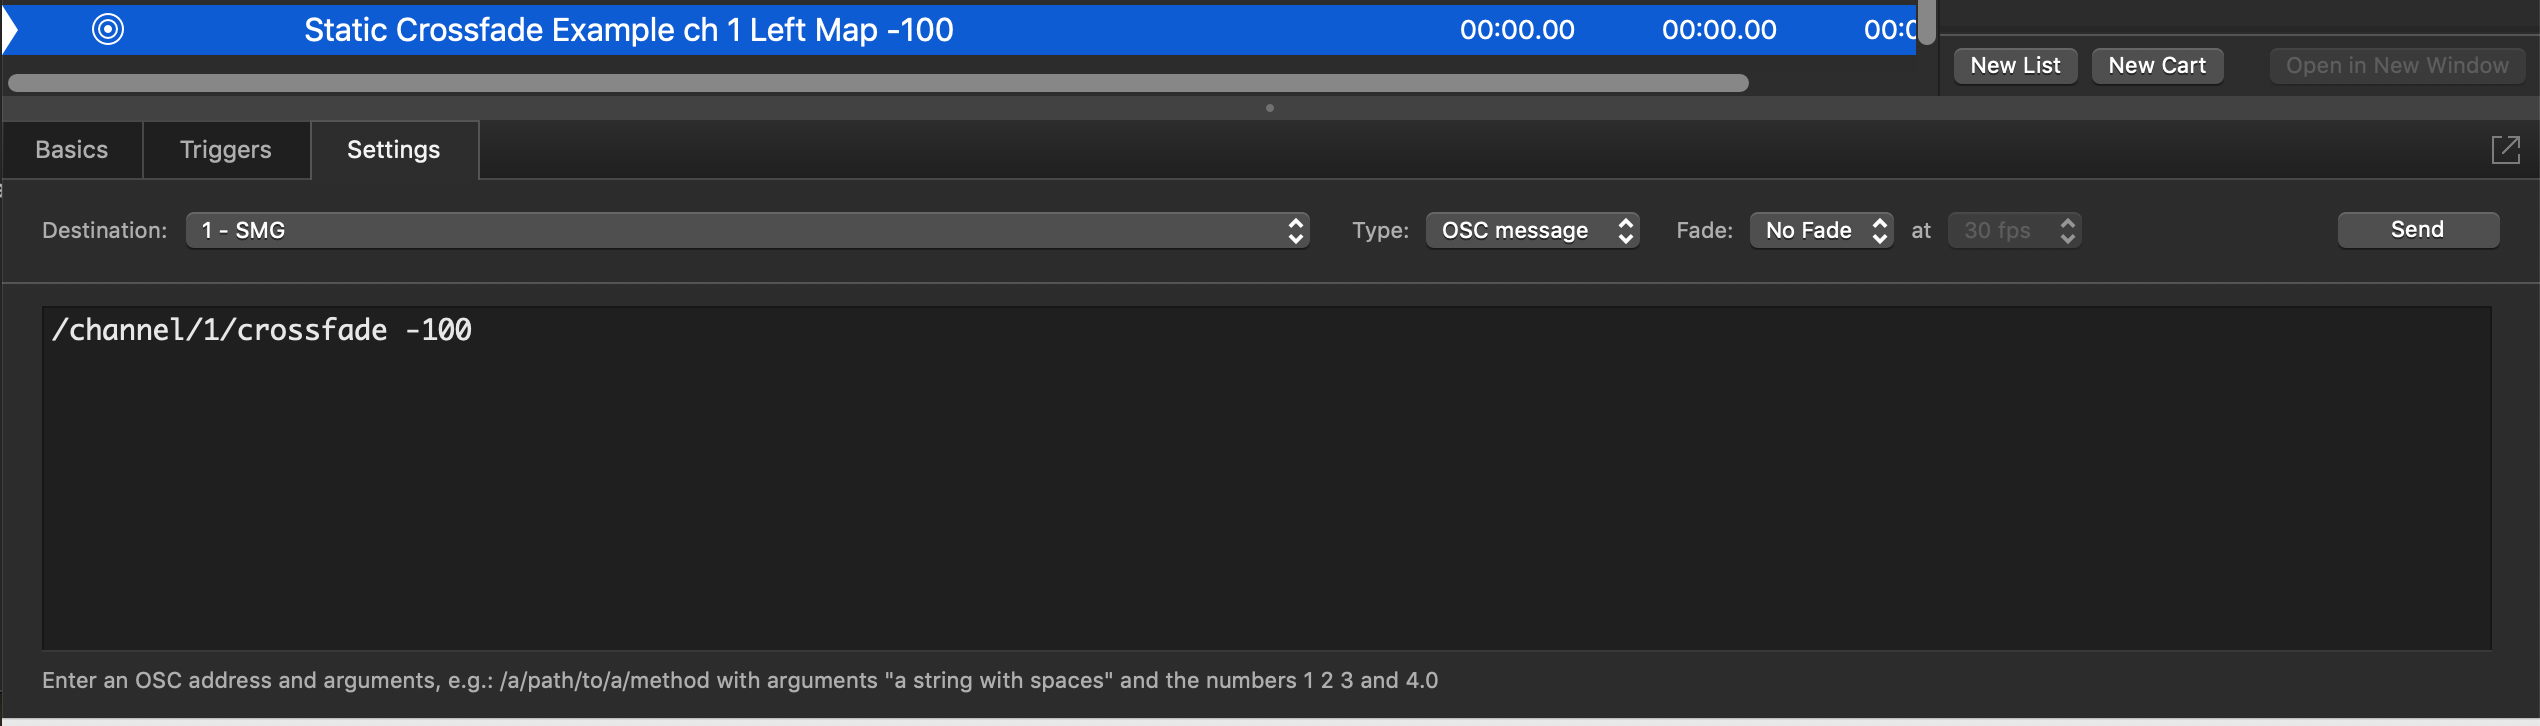
Set a Static Crossfade for Channel 1 to 100% Left Map
/channel/1/crossfade -100
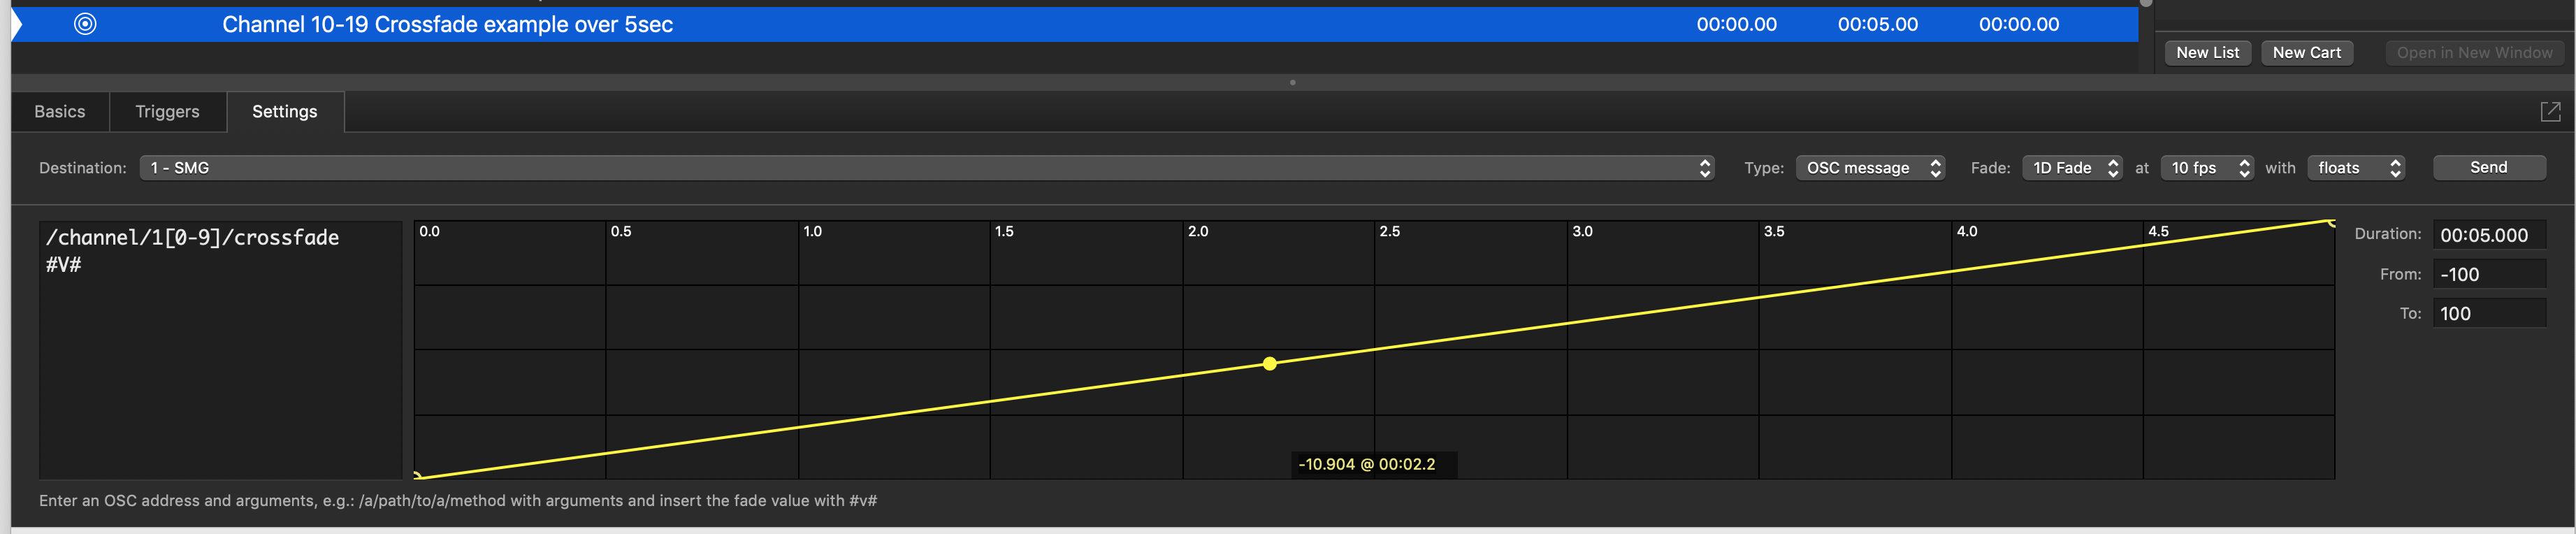
Set Channels 10–19 to Crossfade from Left Map to Right Map Over 5 Seconds
NOTE: To create a crossfade between two maps on a channel, the following QLab Network Cue Settings must be made (these correspond to the screenshot below):
- From = -100
- To = 100
- Type = OSC message
- Fade = 1D
- FPS = 10 fps
- Value = Floats
- Duration = desired fade time (here set to 5 seconds)
/channel/1[0-9]/crossfade #V#
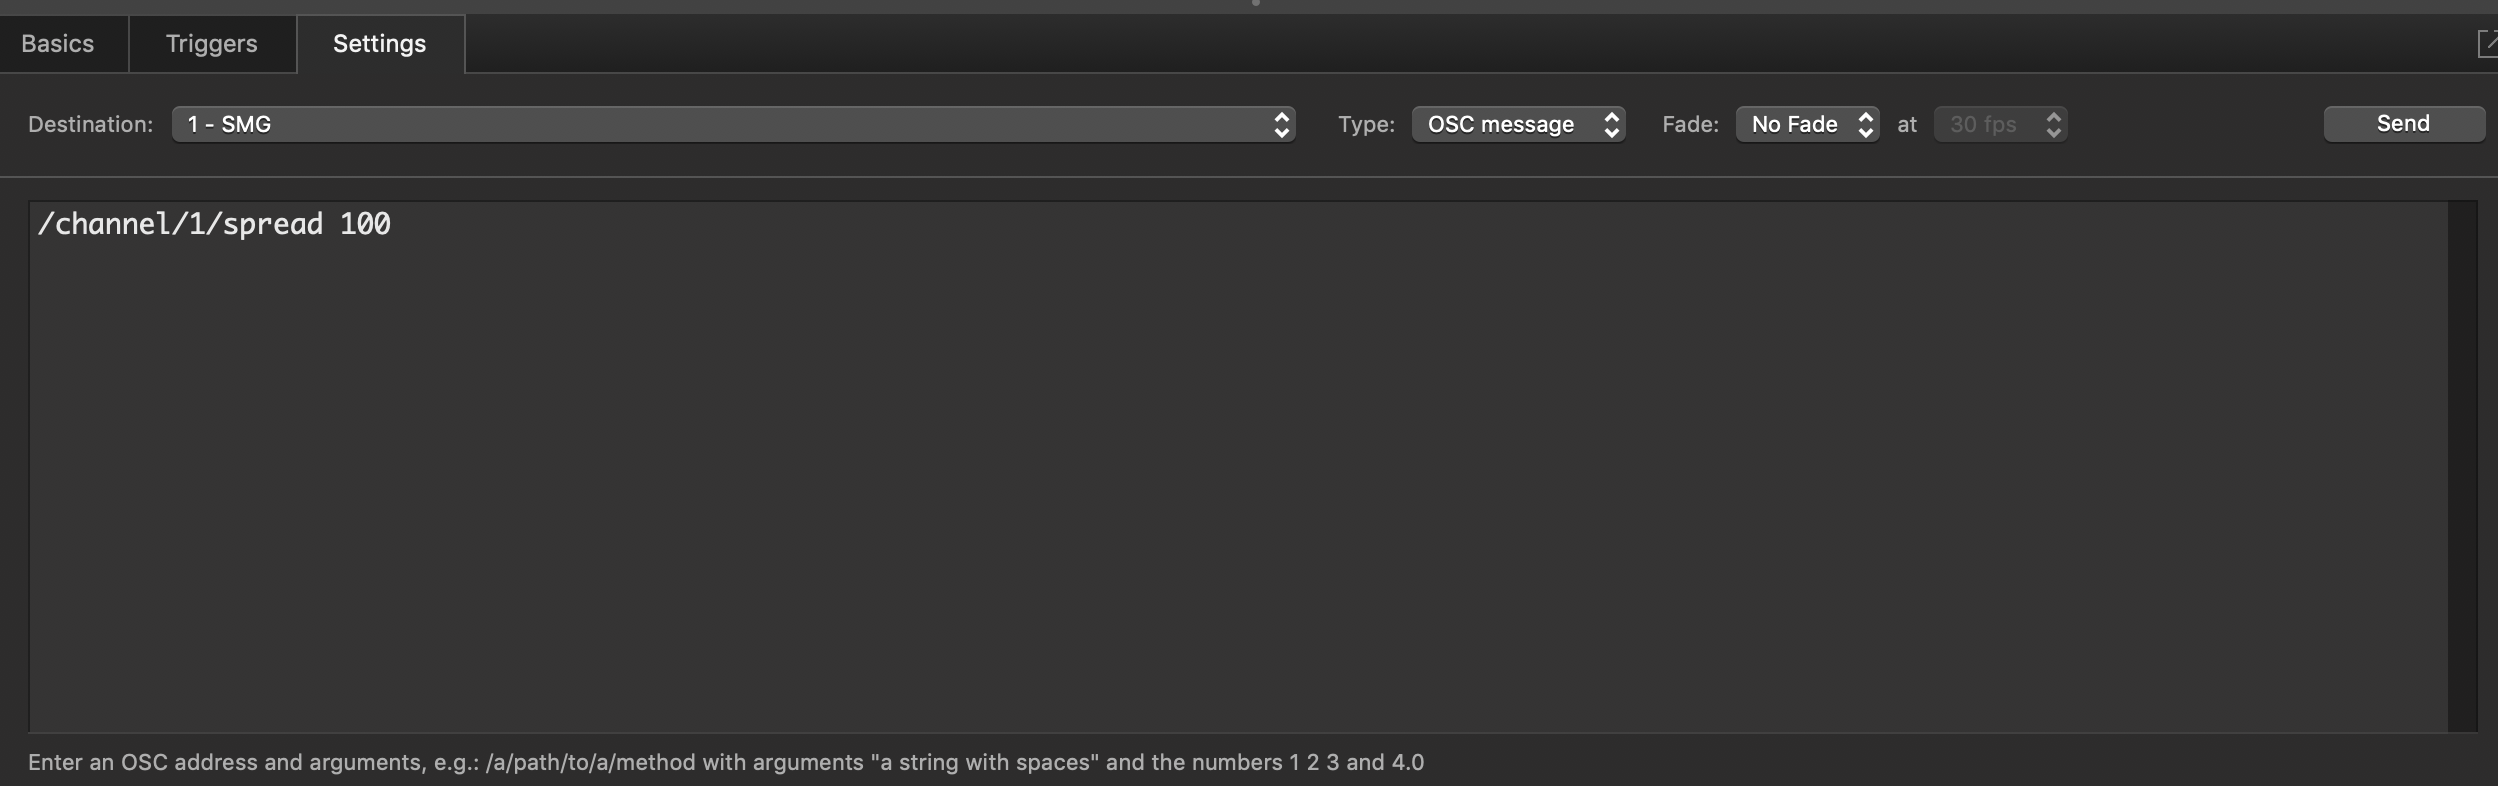
Set Channel 1 Spread to 100%
/channel/1/spread 100
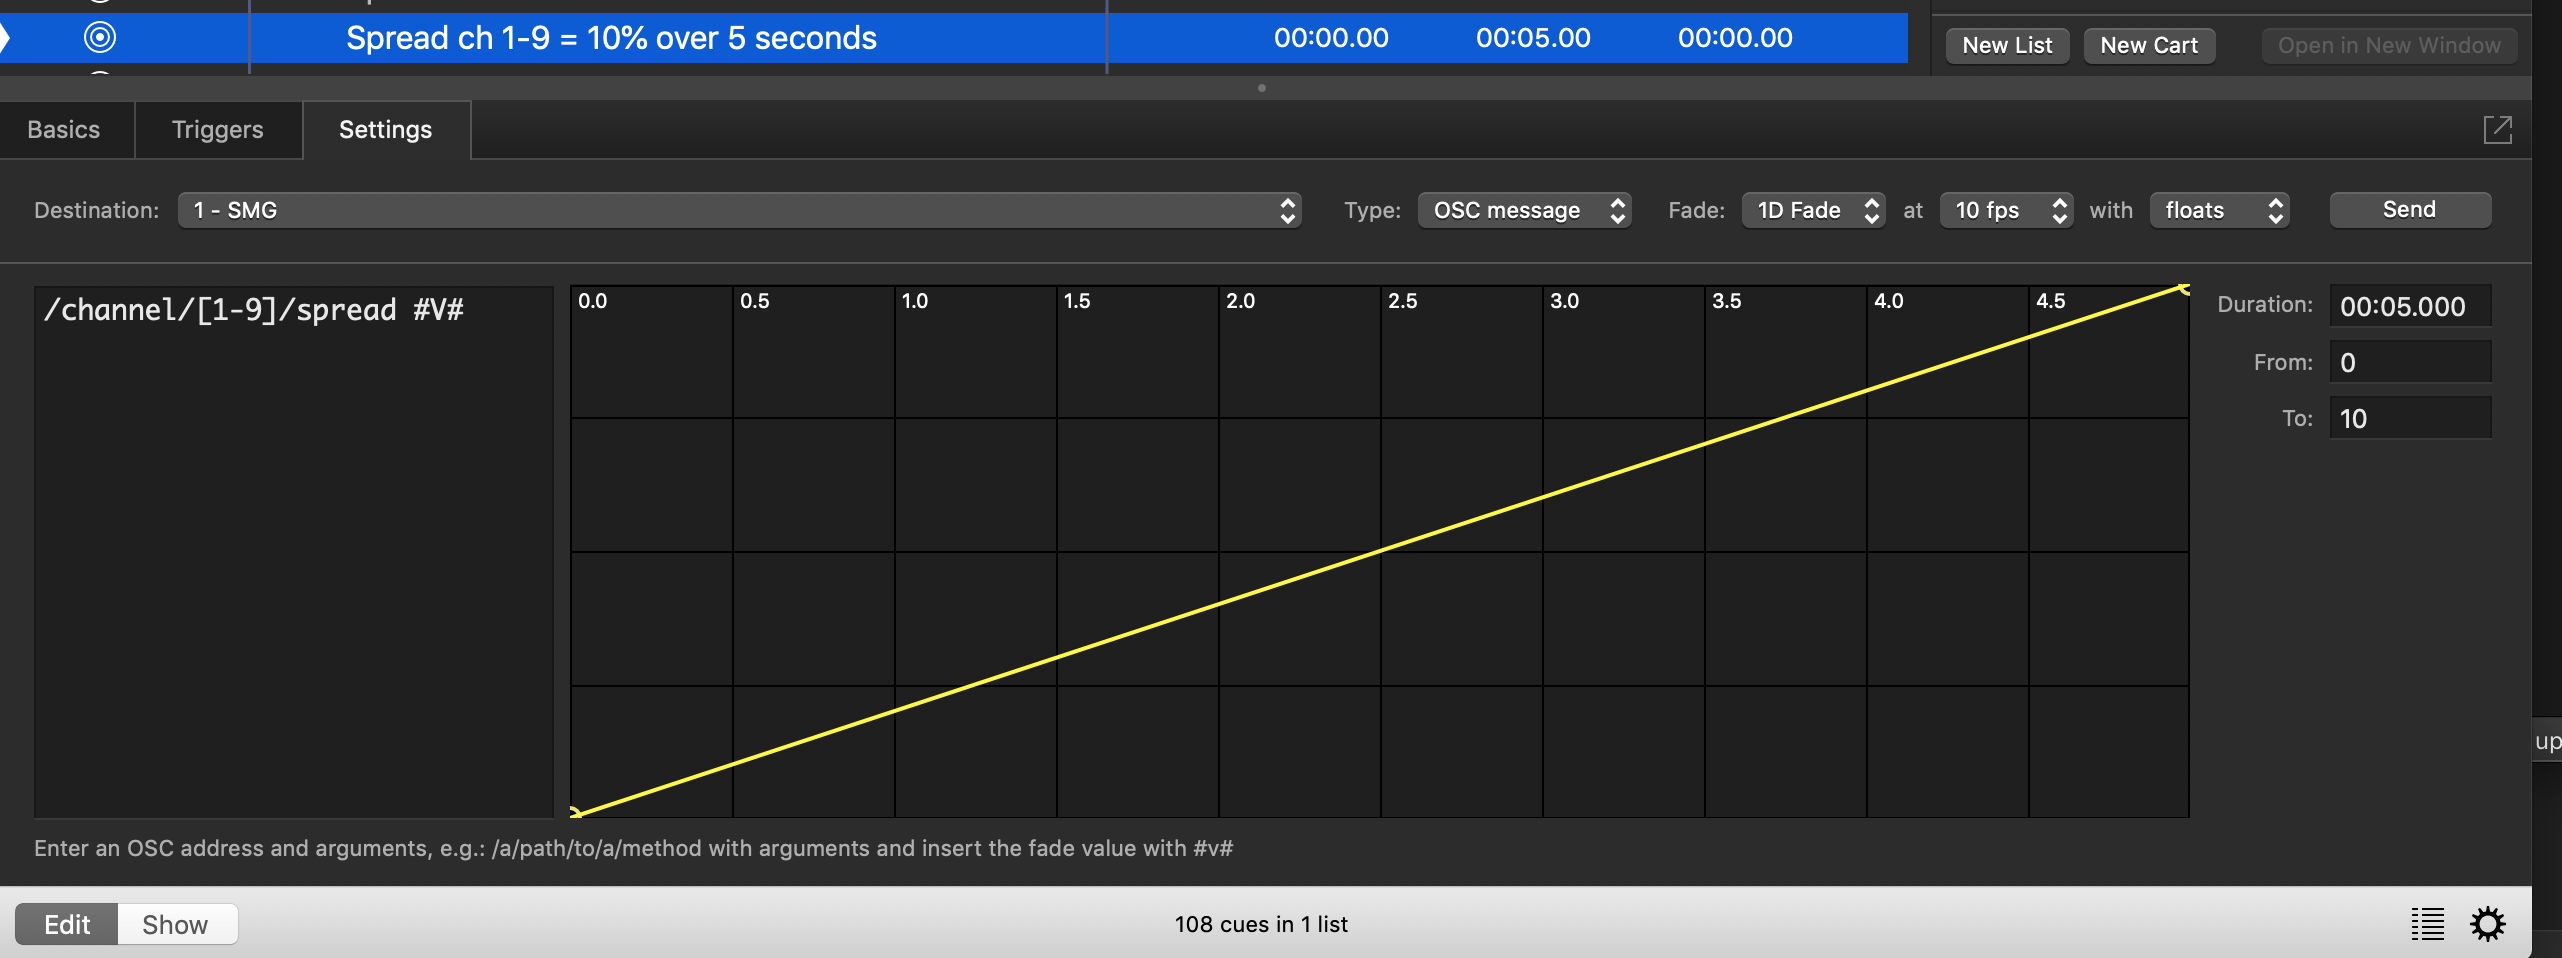
Set Channels 1–9 to Spread 10% Over 5 Seconds
NOTE: To define a spread rate, the following QLab Network Cue Settings must be made (these correspond to the screenshot below):
- From = 0
- To = 10
- Type = OSC message
- Fade = 1D
- FPS = 10 fps
- Value = Floats
- Duration = desired fade time (here set to 5 seconds)
/channel/[1-9]/spread #V#
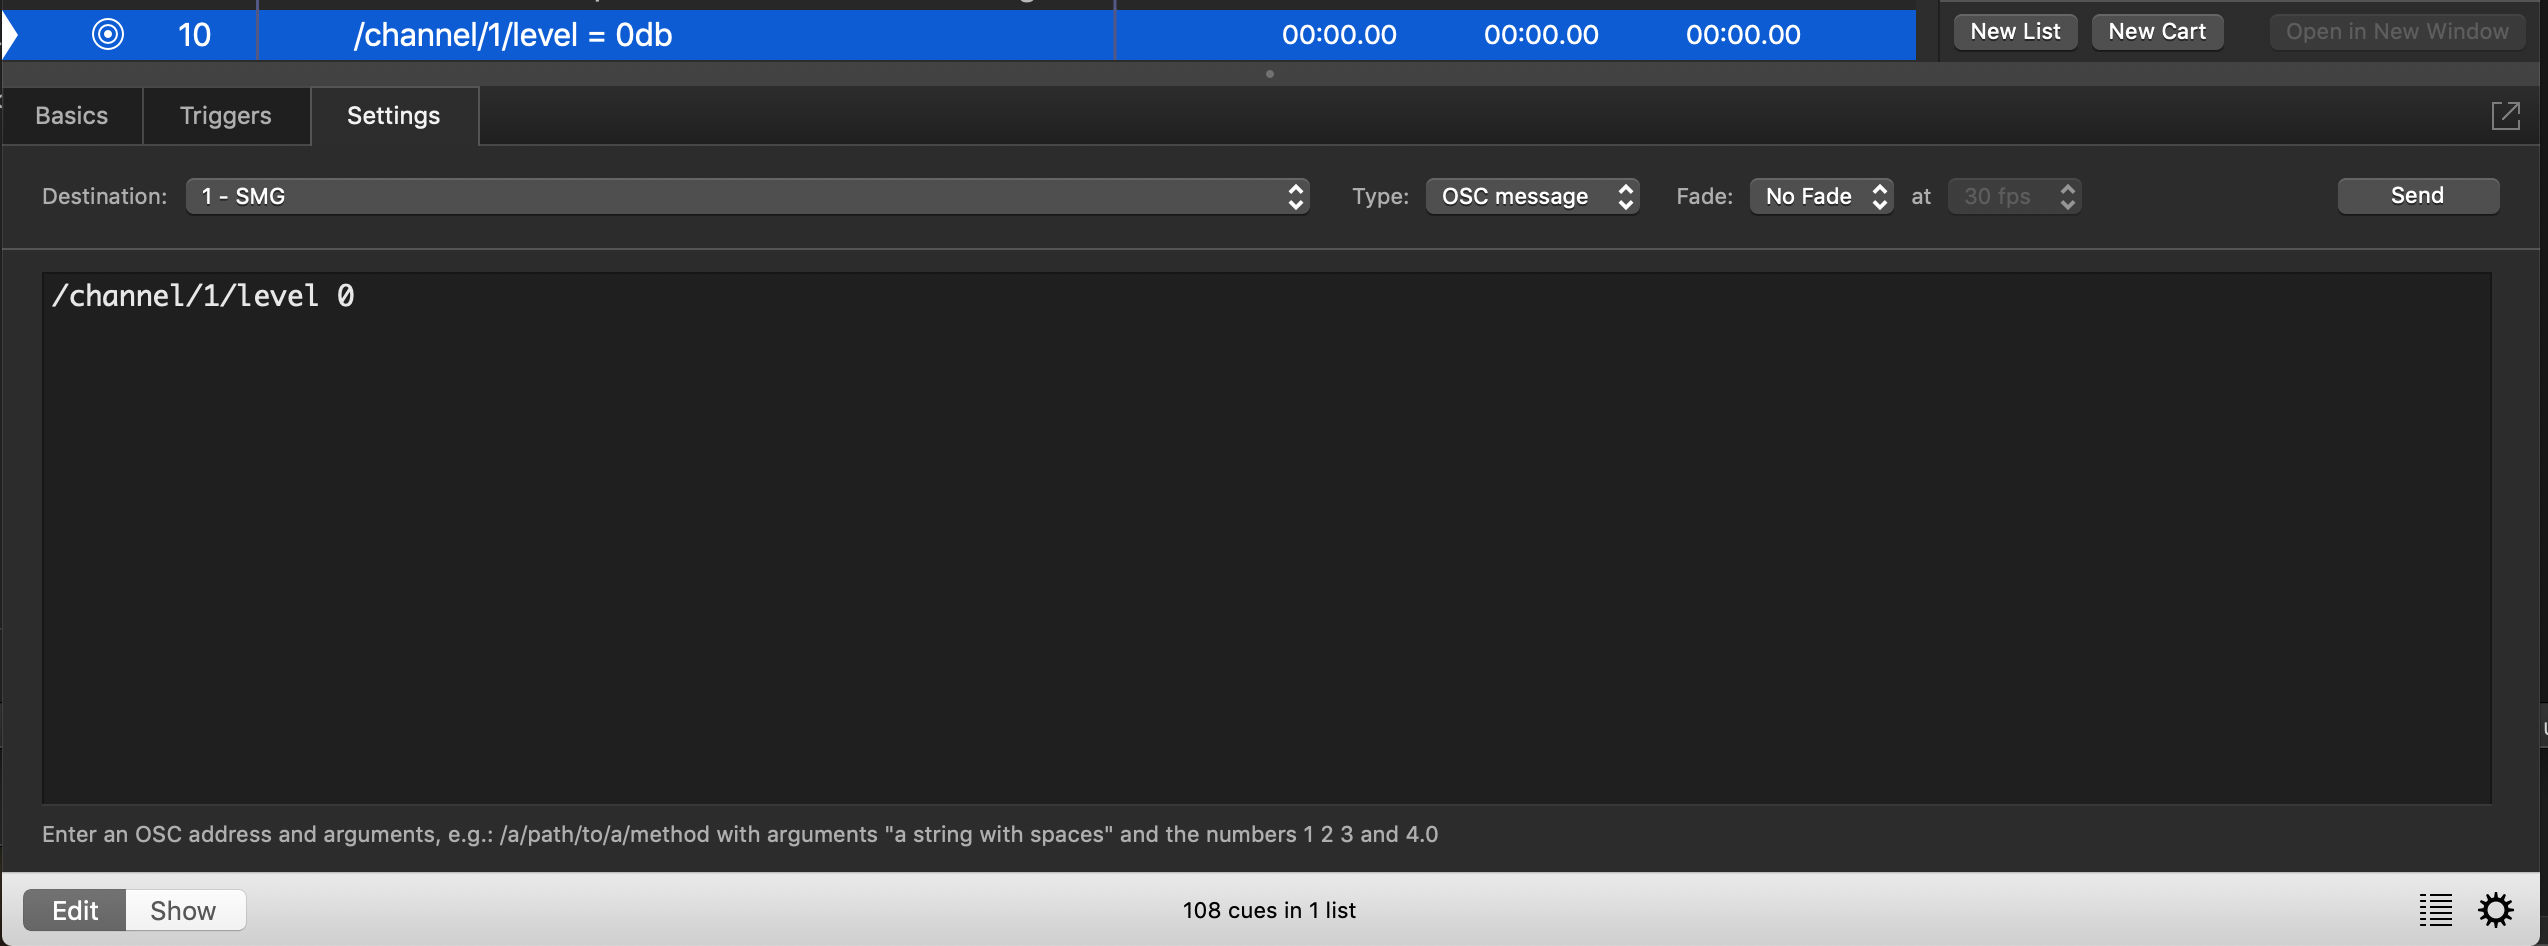
Set Channel 1 Level to 0 dB
/channel/1/level 0
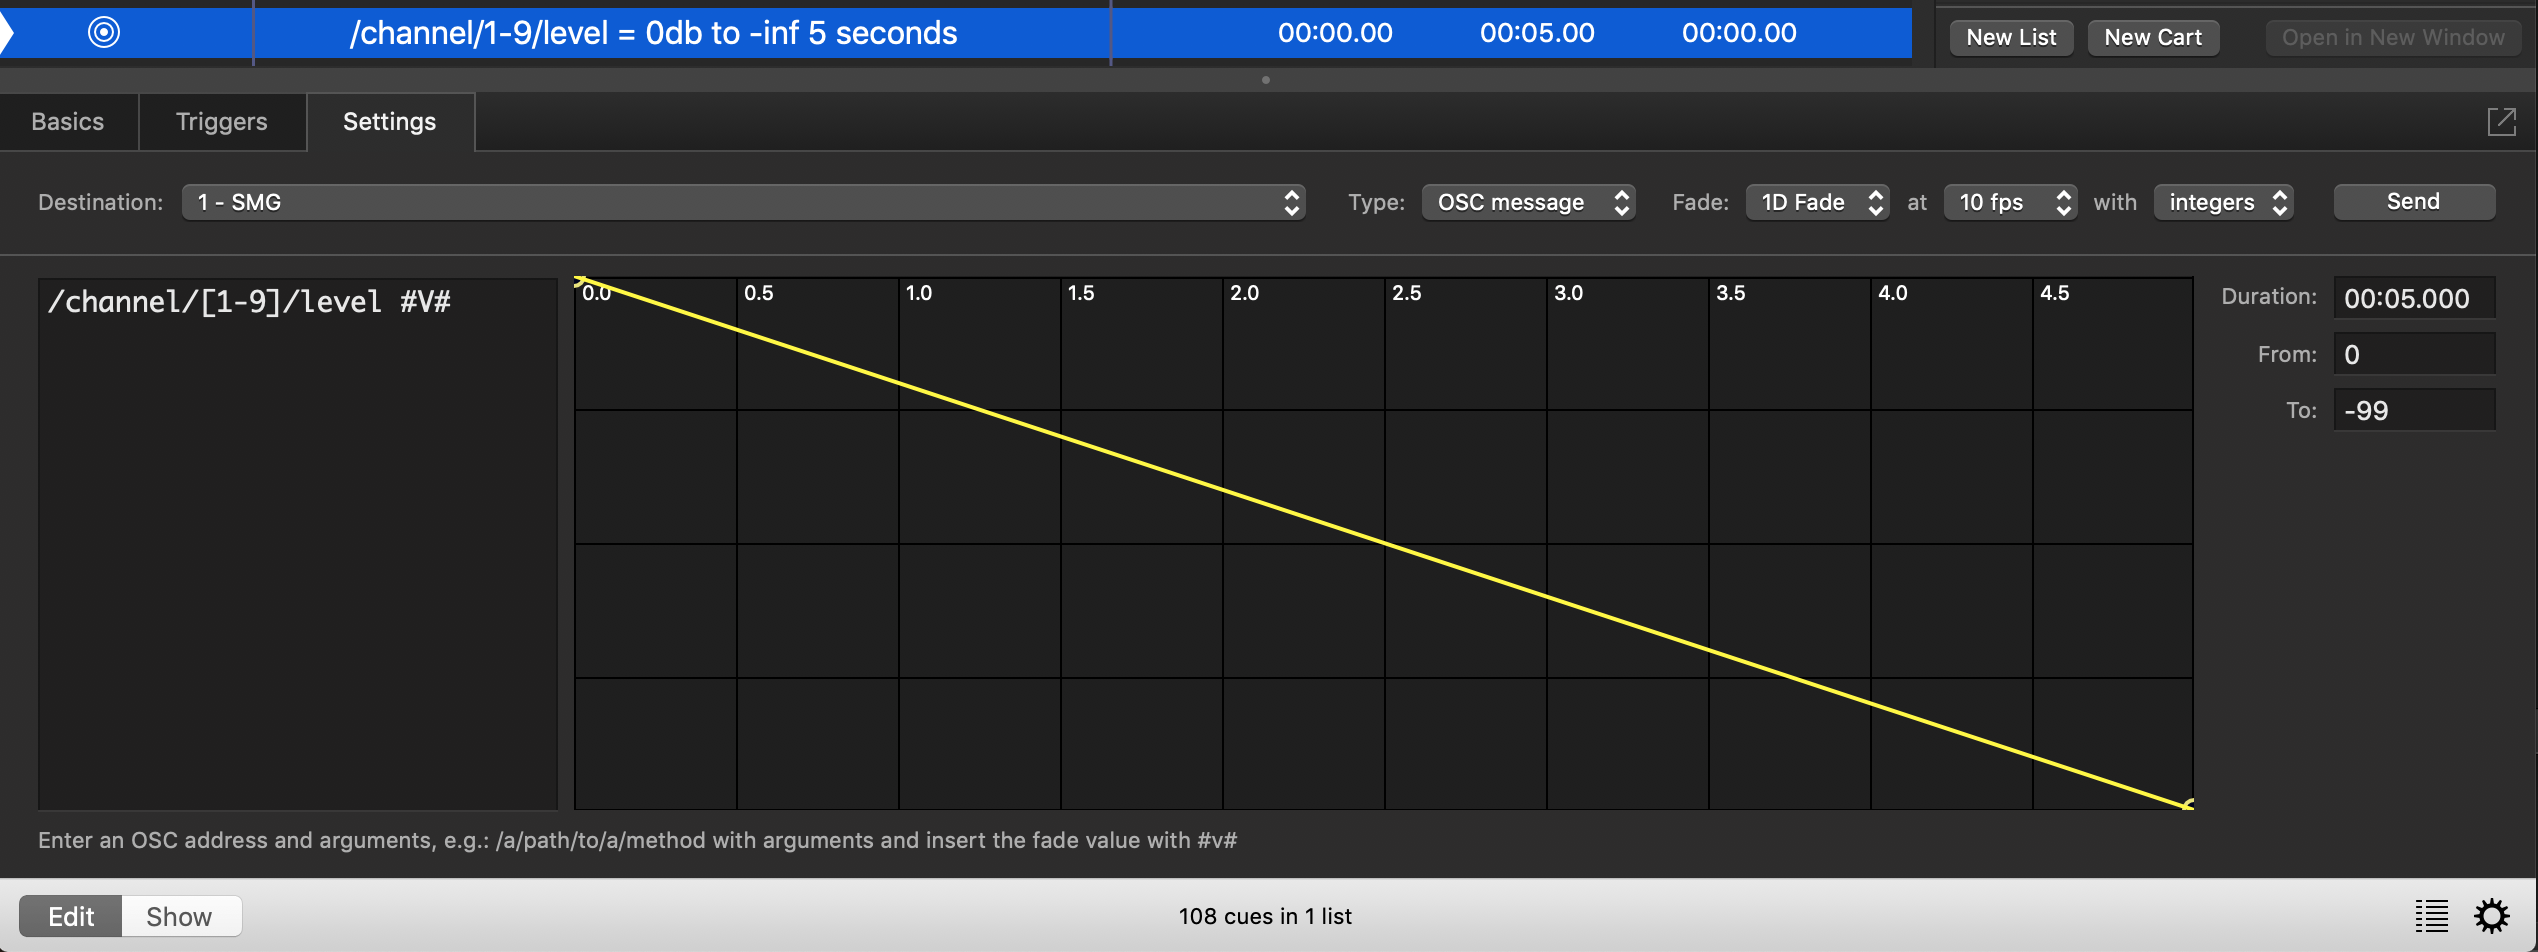
Set Channels 1-9 Levels to Fade from 0 dB to -∞ dB Over 5 Seconds
NOTE: To create a level fade, the following QLab Network Cue Settings must be made (these correspond to the screenshot below):
- From = 0
- To = -99
- Type = OSC message
- Fade = 1D
- FPS = 10 fps
- Value = Integers
- Duration = desired fade time (here set to 5 seconds)
/channel/[1-9]level #V#
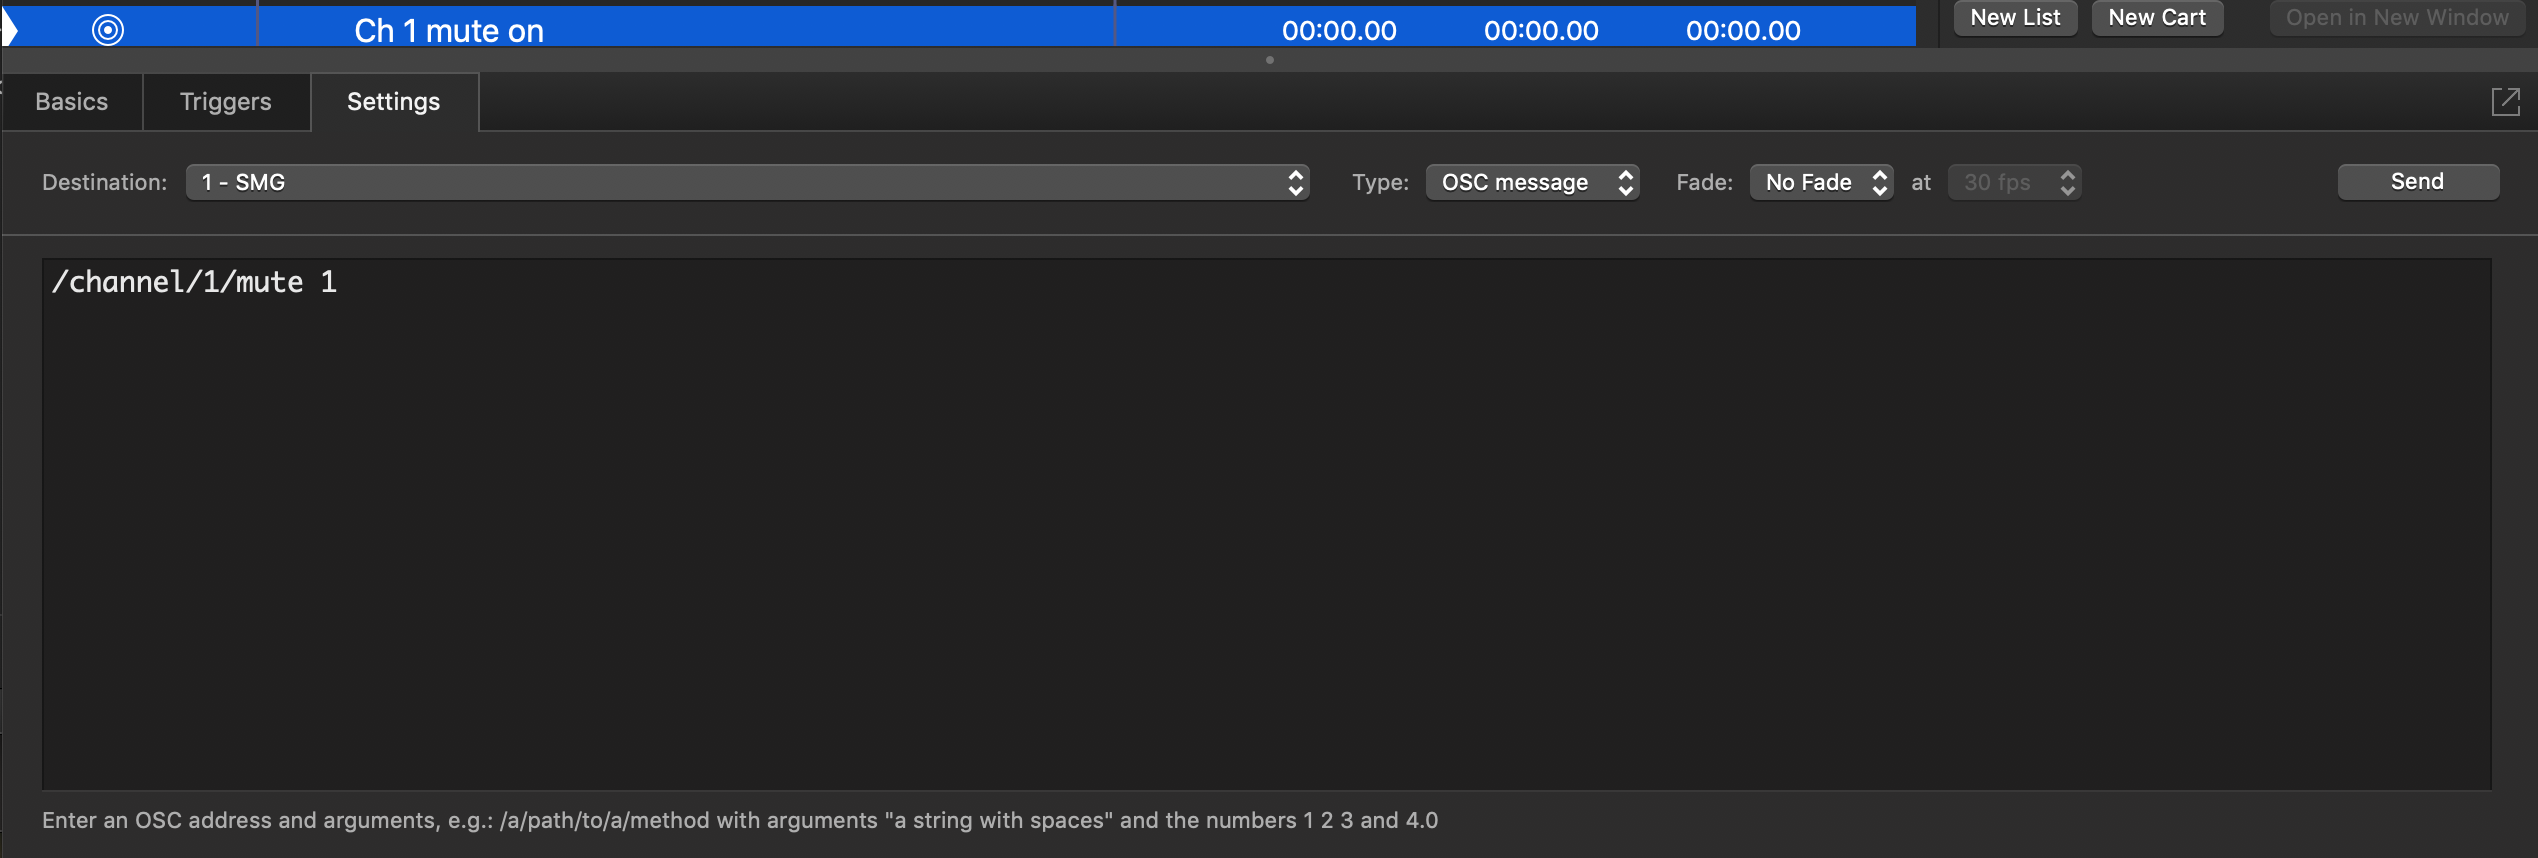
Mute Channel 1
/channel/1/mute 1
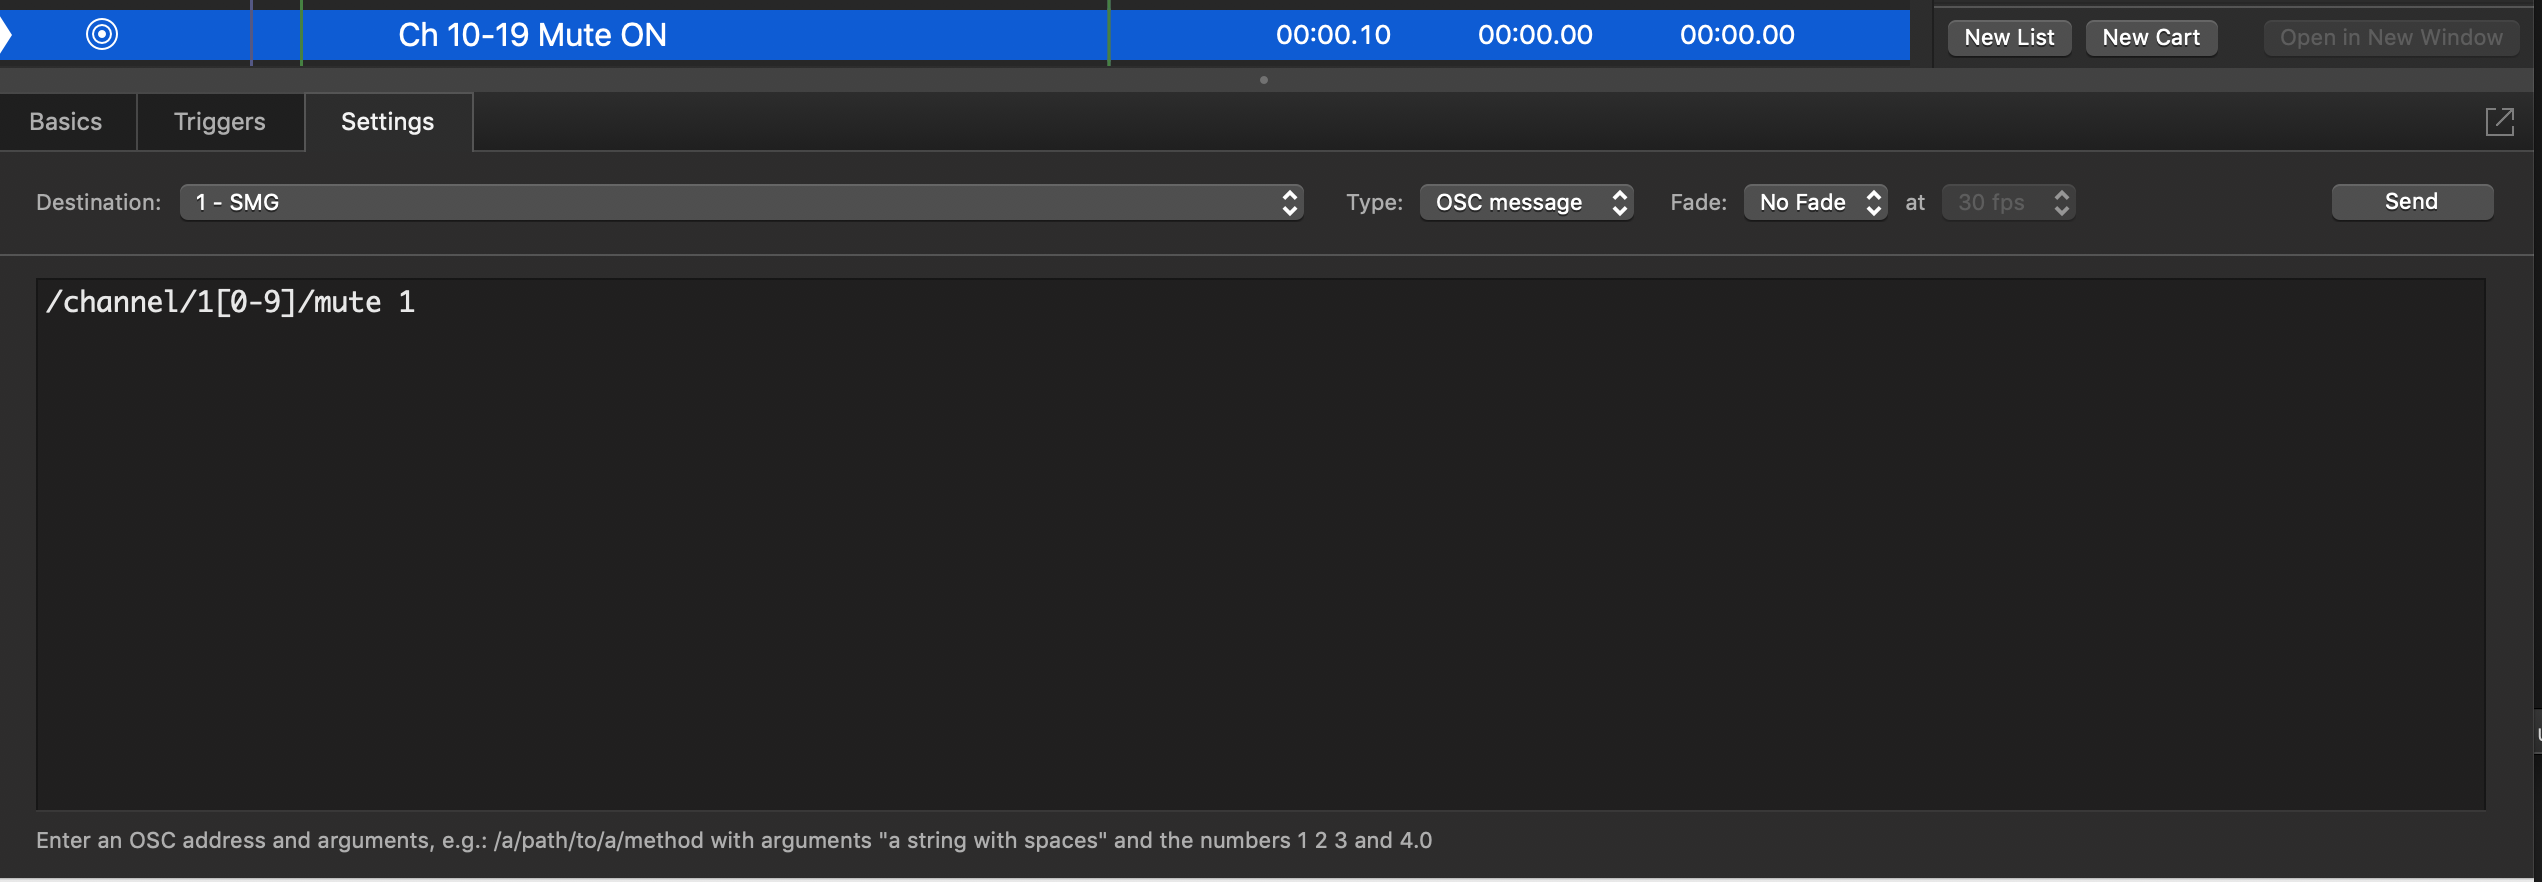
Mute Channels 10–19
/channel/1[0-9]/mute 1
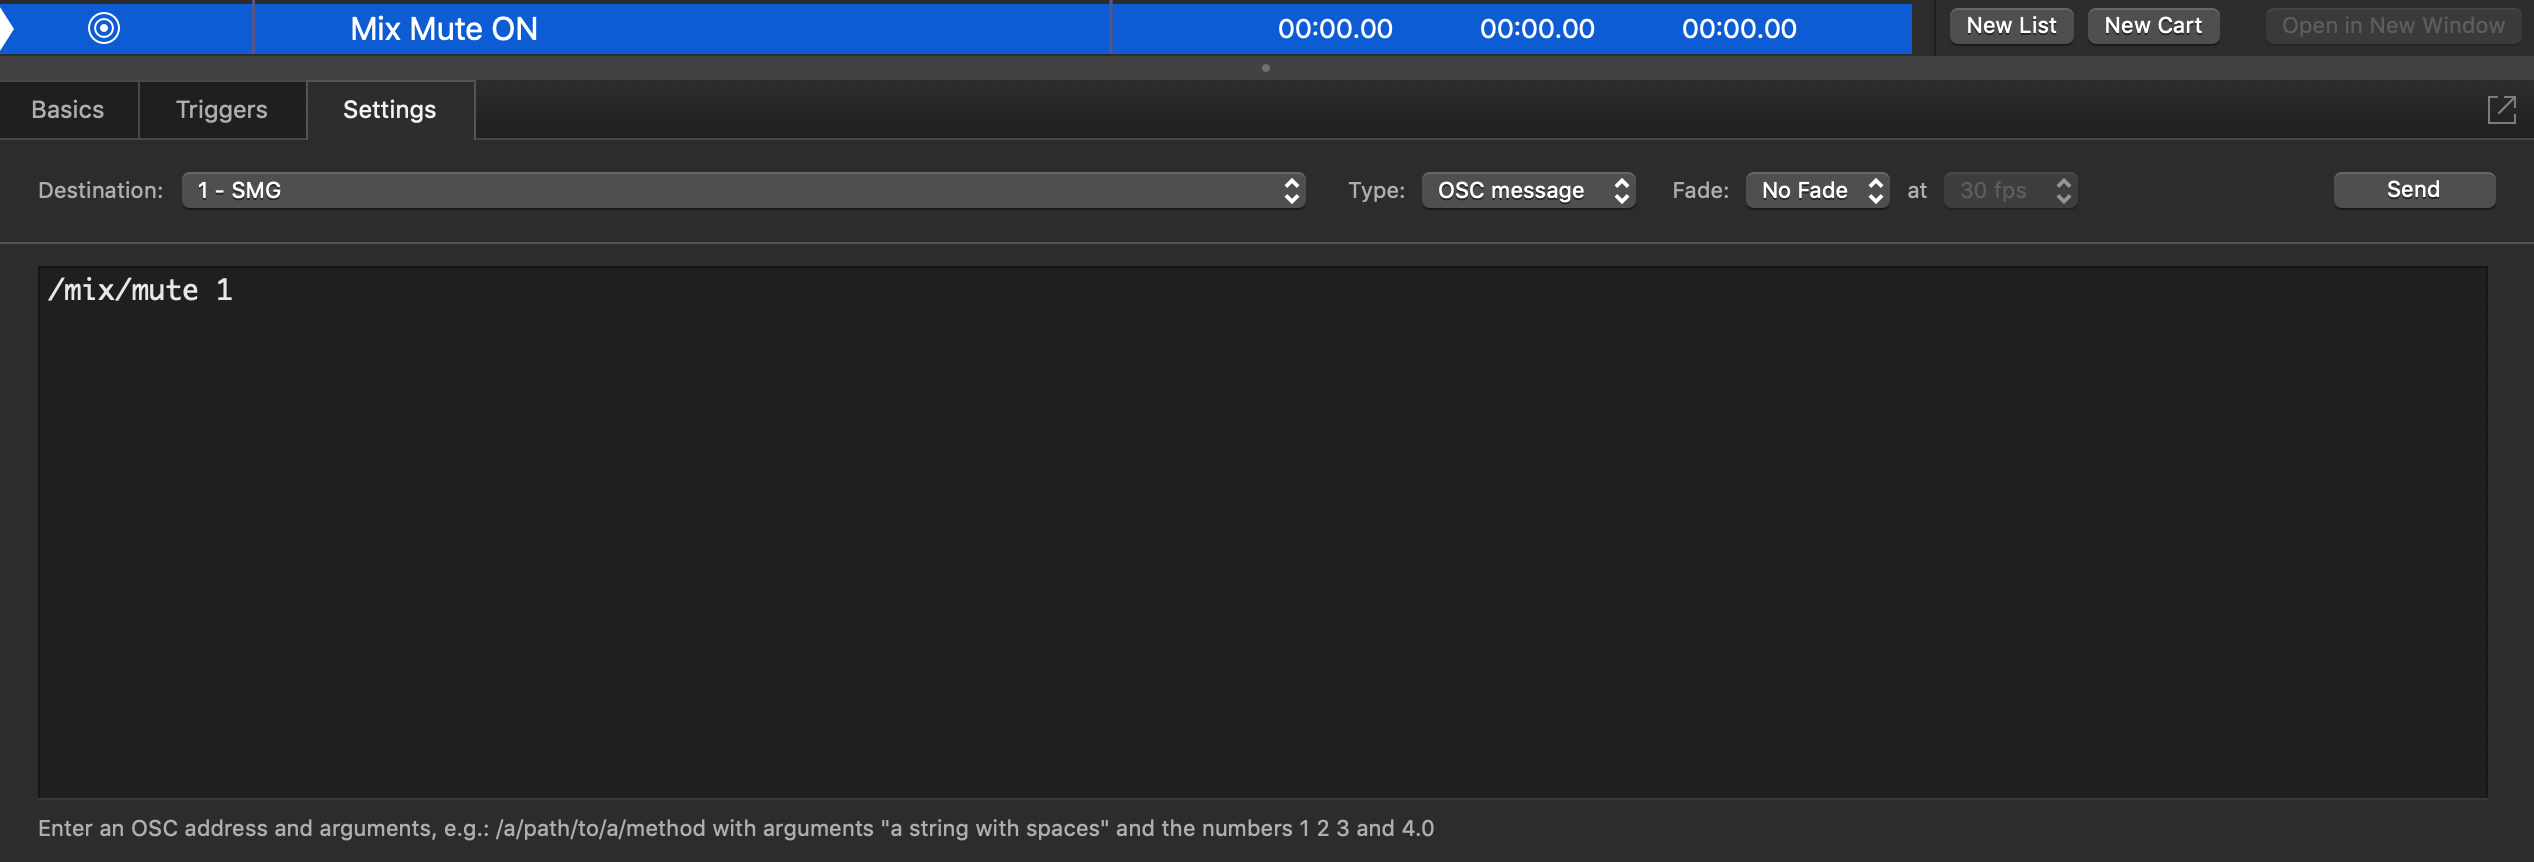
Mute the Mix
/mix/mute/1
Set the Mix Level to Fade to -35 dB Over 5 Seconds From 0 dB
NOTE: To create a level fade, the following QLab Network Cue Settings must be made (these correspond to the screenshot below):
- From = 0
- To = -35
- Type = OSC message
- Fade = 1D
- FPS = 10 fps
- Value = Integers
- Duration = desired fade time (here set to 5 seconds)
/mix/level #V#

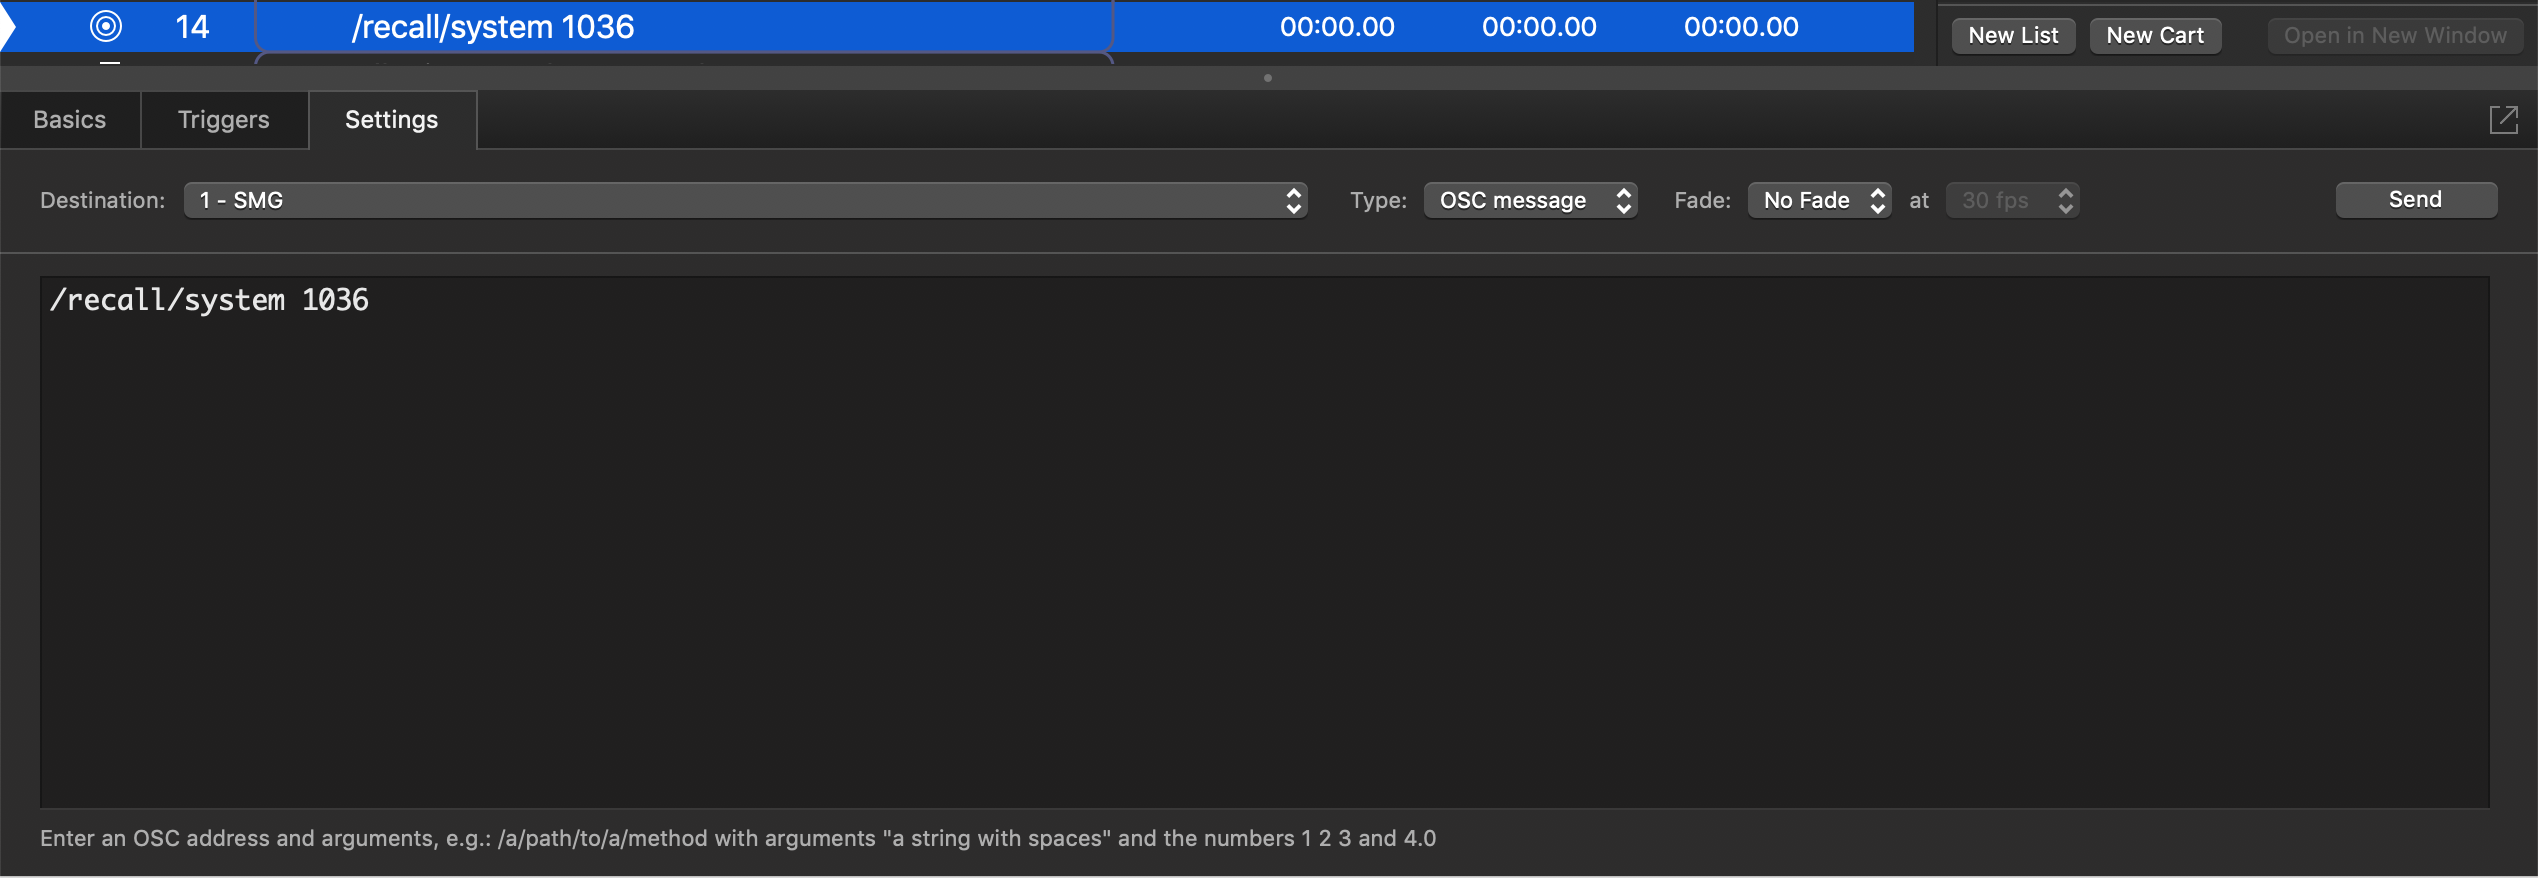
Recall the System Snapshot with the External Recall ID of 1036
/recall/system 1036
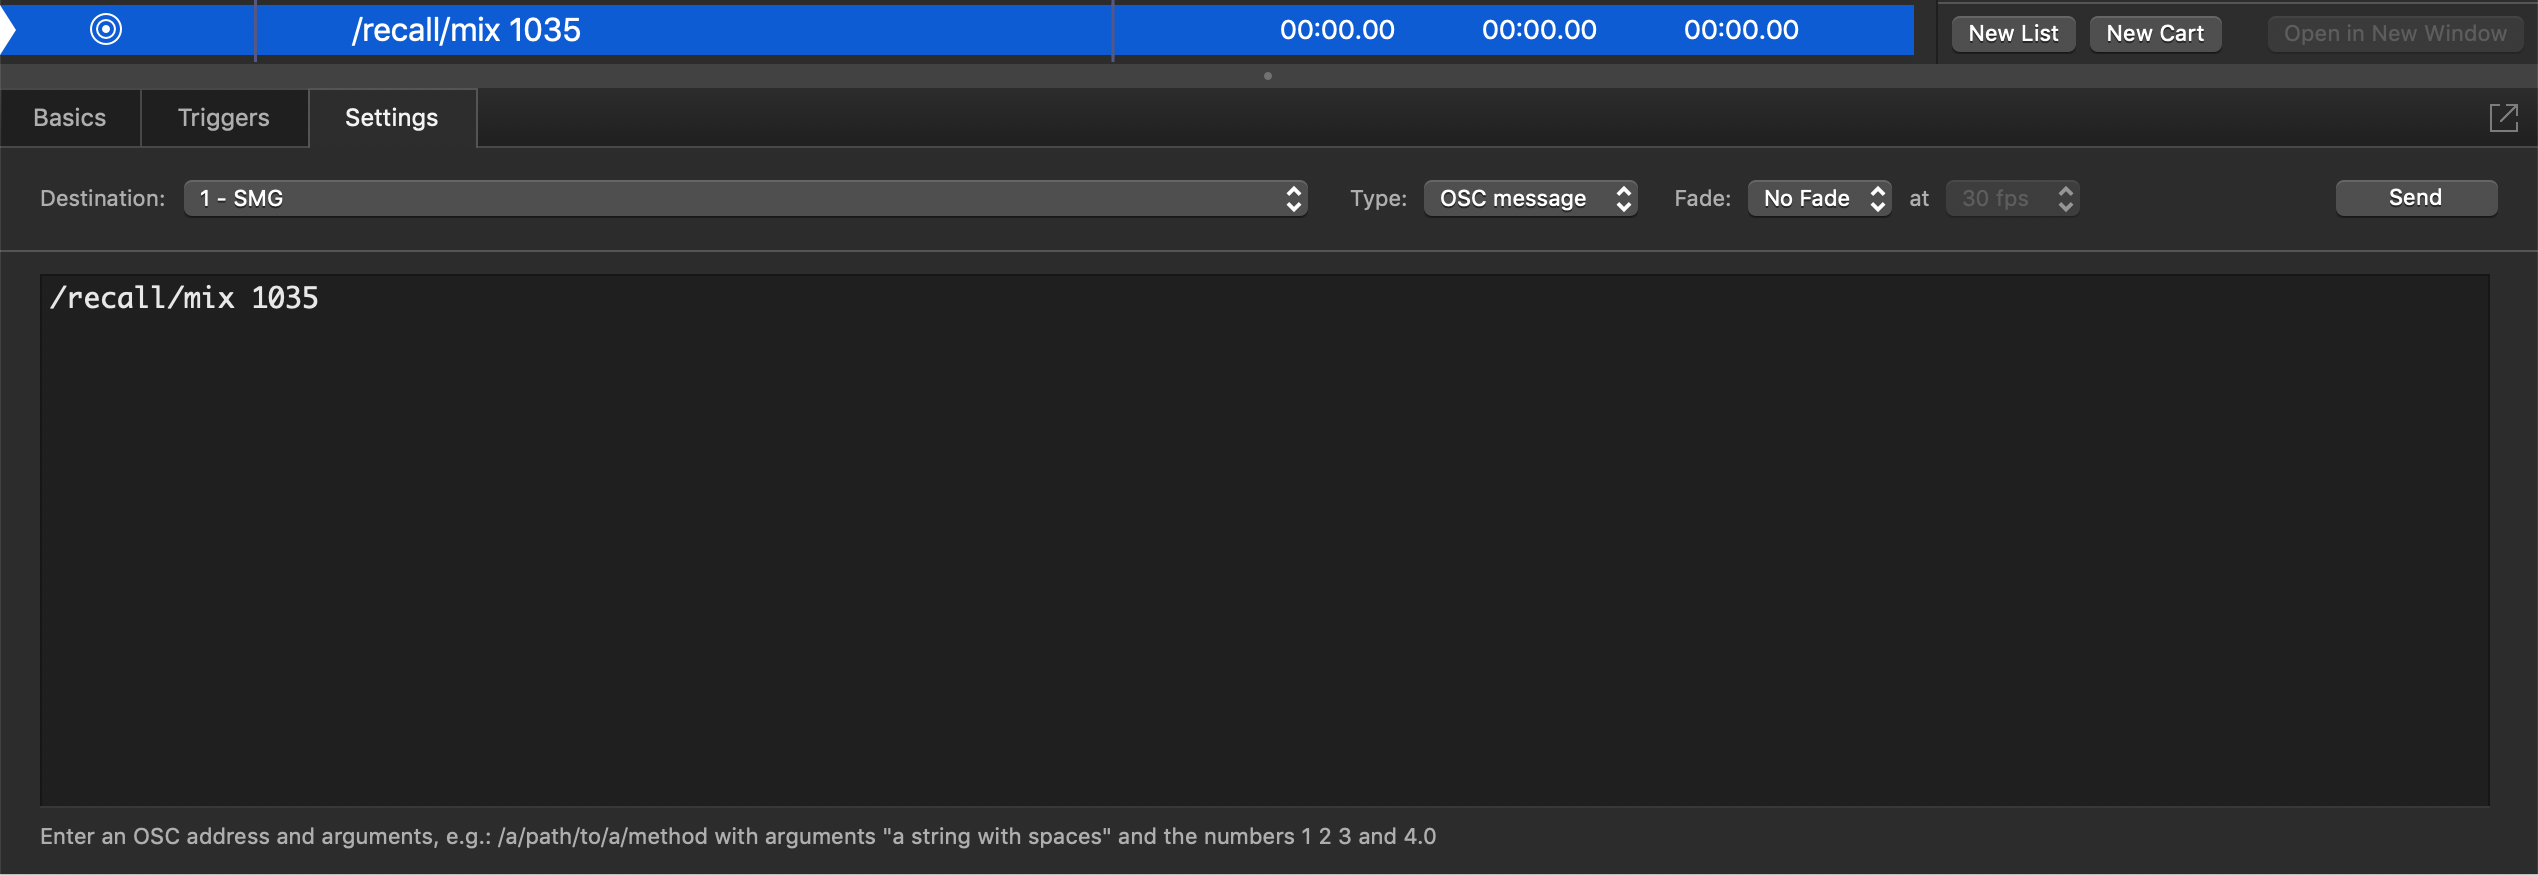
Recall the Mix Snapshot with the External Recall ID of 1035
/recall/mix 1035
Recall the Channel Snapshot with the External Recall ID of 1037
/recall/channel 1037

Set the System Level to -35 dB
/system/level -35
